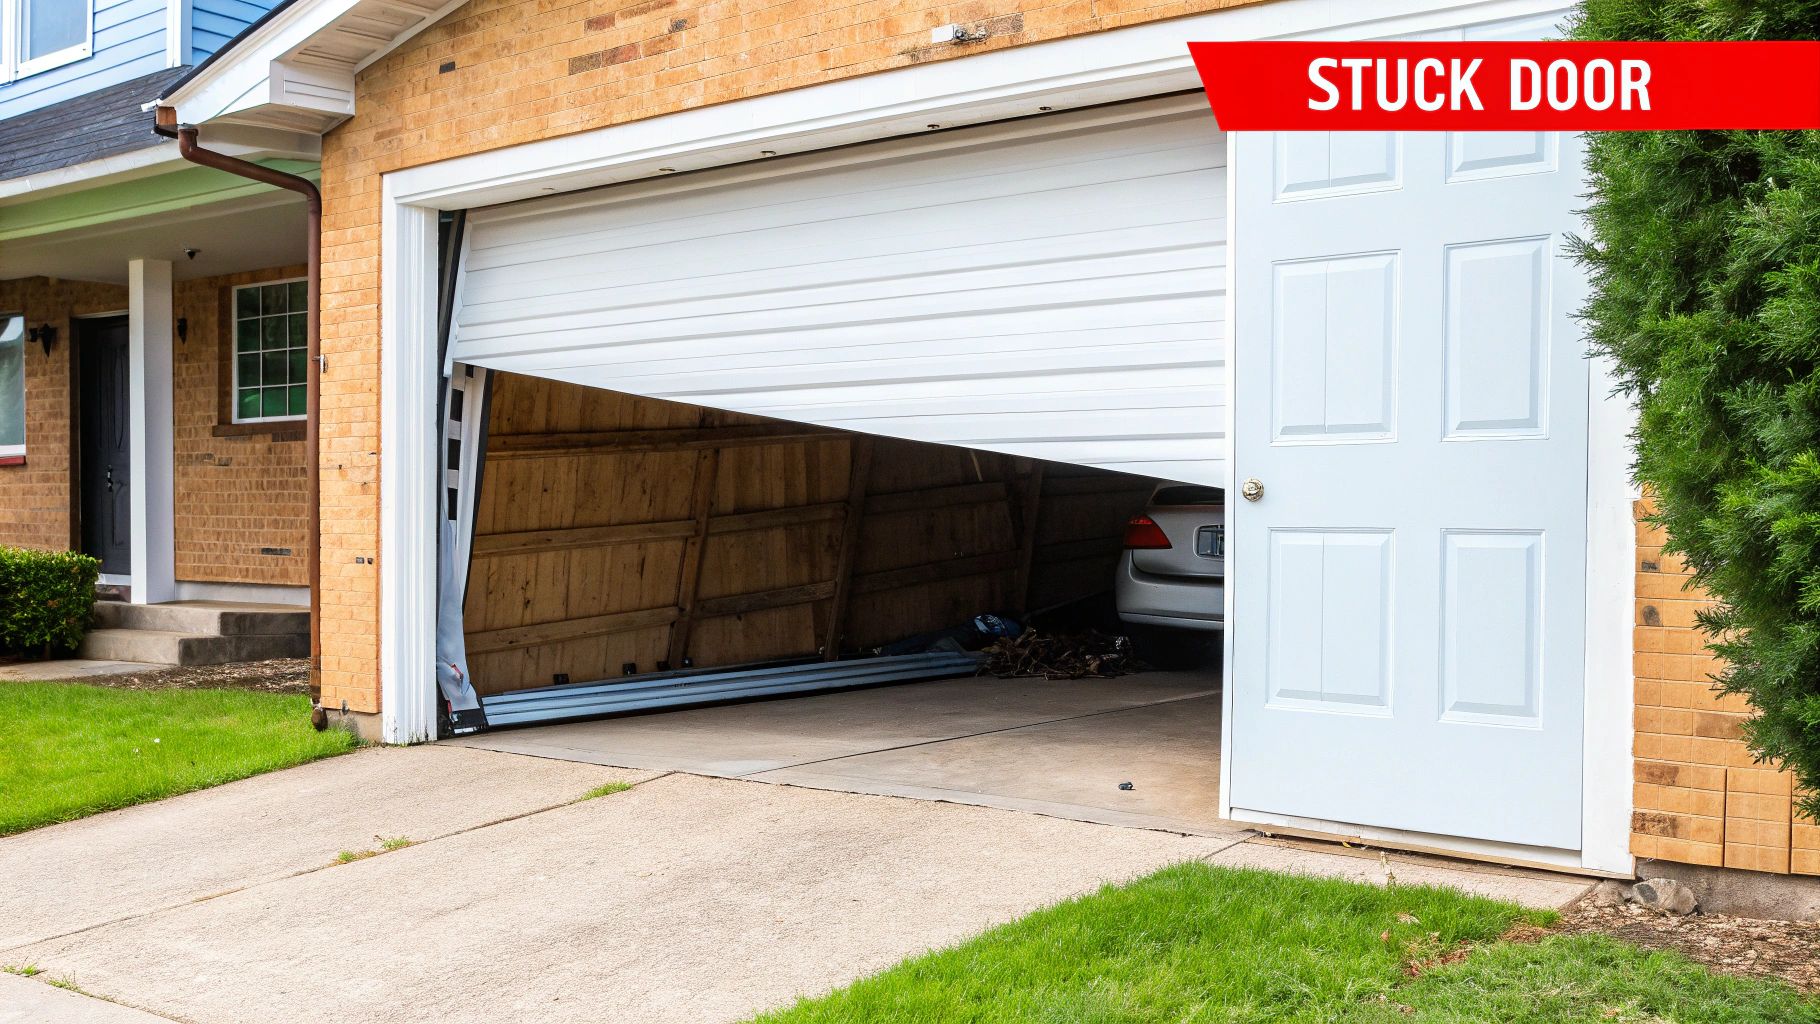
More often than not, a garage door opener that refuses to work is suffering from a surprisingly simple issue. The problem isn't a fried motor or a complex electrical fault, but something straightforward like a power disruption, misaligned safety sensors, or just a dead battery in the remote.
Before you start worrying about a costly repair, a quick diagnostic check can often pinpoint the problem in minutes, getting your residential or commercial property back on track without needing to call in a pro.
Your First Steps in Diagnosing Opener Problems
When your opener suddenly gives up the ghost, it’s a major headache. For families in Texas, it throws the morning routine into chaos. For businesses in Oklahoma, it can bring operations to a grinding halt. But don't jump to the worst-case scenario. The trick is to start with the easiest fixes first.
This initial once-over doesn't require any special tools or technical know-how, just a few minutes of your time. You'd be surprised how many service calls for "broken" openers are solved by simply plugging the unit back in or moving a stray shoebox.
The Power and Sensor Checkup
Your first instinct should be to check the power. Is the motor unit firmly plugged into a working outlet? It's a simple question, but it's the right one to ask first. Take a look at your circuit breaker or the GFCI outlet it's connected to. After the storms we get across Texas and Oklahoma, it's common for them to trip.
If the unit is definitely getting power but the door won’t budge, your next stop is the safety sensors. These are the two little "photo-eyes" mounted near the bottom of the door tracks, and they need to be perfectly aligned to see each other. Each sensor has a small LED light. If one is blinking or completely dark, they’re out of alignment or something is blocking their path, which triggers the safety system and stops the door from closing.
This diagnostic flow is a great visual guide for walking through these initial steps.

Following a logical sequence—confirming the problem, checking the simple stuff like sensors and remotes, and then testing—makes the whole process much less intimidating.
To help you narrow down the issue even faster, here's a quick chart matching common symptoms to their likely culprits.
Quick Diagnosis Chart for Opener Issues
| Symptom | Most Likely Cause | First Action to Take |
|---|---|---|
| Opener makes no sound, no lights | No power | Check if the unit is plugged in; test the outlet and check the circuit breaker/GFCI. |
| Door starts to close, then reverses | Misaligned or obstructed safety sensors | Clear any obstructions and check the LED lights on the sensors to confirm alignment. |
| Opener works from the wall button but not the remote | Remote control issue | Replace the battery in your remote control and try reprogramming it. |
| Door won't open or close all the way | Travel limit settings are incorrect | Refer to your owner's manual to adjust the "up" and "down" travel limits. |
| Motor runs, but the door doesn't move | Disengaged trolley or broken gear | Check if the emergency release cord has been pulled. If not, this may require a technician. |
This chart is your go-to for that initial "what's going on?" moment, pointing you in the right direction before you dive deeper.
Understanding the Scale of Opener Issues
Given how much we rely on these machines, even a small hiccup can feel like a big deal. The global garage door openers market was valued at an astounding $2.48 billion in 2021, with North America making up nearly 39% of that. That represents millions of units in residential and commercial properties everywhere, each one subject to daily wear and tear. You can discover more insights about this growing market to see just how common these devices—and their occasional problems—are.
Key Takeaway: When your garage door opener stops working, always start with the "big three": power, sensors, and remote batteries. Running through this simple checklist first will solve the problem a surprising amount of the time and could save you the cost and hassle of a service call.
Solving Safety Sensor and Reversal System Issues
Your garage door opener’s most critical components are its safety features. These aren’t just add-ons for convenience; they are mandated protections that must function correctly to prevent serious accidents. Getting a handle on how the photo-eye sensors and auto-reverse mechanism work is the key to fixing some of the most common—and frustrating—opener problems.
These systems are all built around the strict UL 325 safety standards, which legally require both a non-contact sensor (the photo-eyes) and a contact-based reversal system. The history behind these rules is sobering. Older garage door openers posed a significant safety risk, and tragically, it took accidents to bring about the changes we rely on today.
According to the U.S. Consumer Product Safety Commission (CPSC), between 1980 and 1983, at least nine deaths were caused by garage doors closing on children. These incidents were often the result of a child trying to dart under a closing door, highlighting the urgent need for the automatic safety features that are now standard.
Checking and Aligning Your Photo-Eye Sensors
Does your garage door start to close, only to shoot right back up? The first place you should always look is the safety sensors. These are the two small "eyes" located about six inches from the floor on either side of the door track. They send an invisible infrared beam across the opening, and if anything breaks that beam, the opener immediately reverses the door.
A blinking LED light on one of the sensors is the classic giveaway. It’s a clear signal that they’re either misaligned or something is blocking their path.
Here's a practical, actionable checklist:
- Look for Obstructions: Get down at eye level and check the path. It’s amazing what can get in the way—a stray toy, a garden hose, or even thick cobwebs can be enough to trigger the reversal.
- Clean the Lenses: The dust we get here in Texas and Oklahoma can easily coat the sensor lenses. Just take a soft, dry cloth and gently wipe them clean.
- Check the Alignment: The sending and receiving sensors have to be pointed directly at each other. If one got bumped by a lawnmower or a bike, you’ll need to gently adjust its bracket by hand until the blinking LED turns solid.
It’s also worth mentioning that the intense Texas sun can sometimes be the culprit. We have seen cases where a door only acts up in the late afternoon when the sun hits the sensors at just the right angle. If the problem is time-specific, that could be your answer. For a more detailed guide, see our post on how to test garage door sensors.
Pro Tip: If the sensor lights are solid green but the door still reverses, it’s time to inspect the wiring. Rodents can chew the wires or they can simply become frayed over time, causing an intermittent and very annoying problem.
Performing the Essential Reversal Test
Beyond the photo-eyes, your opener has a mechanical safety feature that senses physical resistance. This is your backup system, and you need to test it regularly, whether it's at your home or a commercial property.
The test couldn't be simpler. Just lay a standard 2×4 piece of wood flat on the ground where the door comes down.
Now, close the door. It should touch the wood and immediately reverse direction. If it tries to crush the wood, your force setting is dangerously high. This simple test confirms the opener will protect a person, pet, or vehicle if the photo-eyes ever fail to do their job. If your door fails this test, you need to adjust the force settings or call a professional right away. This is not something to put off.
Troubleshooting Remote and Power Supply Failures
When your garage door opener suddenly goes silent, it's easy to assume the worst. But more often than not, the culprit is something surprisingly simple. Before you even think about calling for a repair, let's walk through the same process a pro would use, starting with the most basic element: power.
First thing's first—check that the opener is actually getting electricity. Take a look at the motor unit and see if it's securely plugged into the outlet. Here in Texas and Oklahoma, storms and power flickers are a fact of life, and they love to trip GFCI outlets. Find the outlet the opener is plugged into and press the little "reset" button. If that brings it back to life, you've just saved yourself a service call.
If the outlet is fine, your next stop is the remote itself.
Diagnosing Signal and Battery Issues
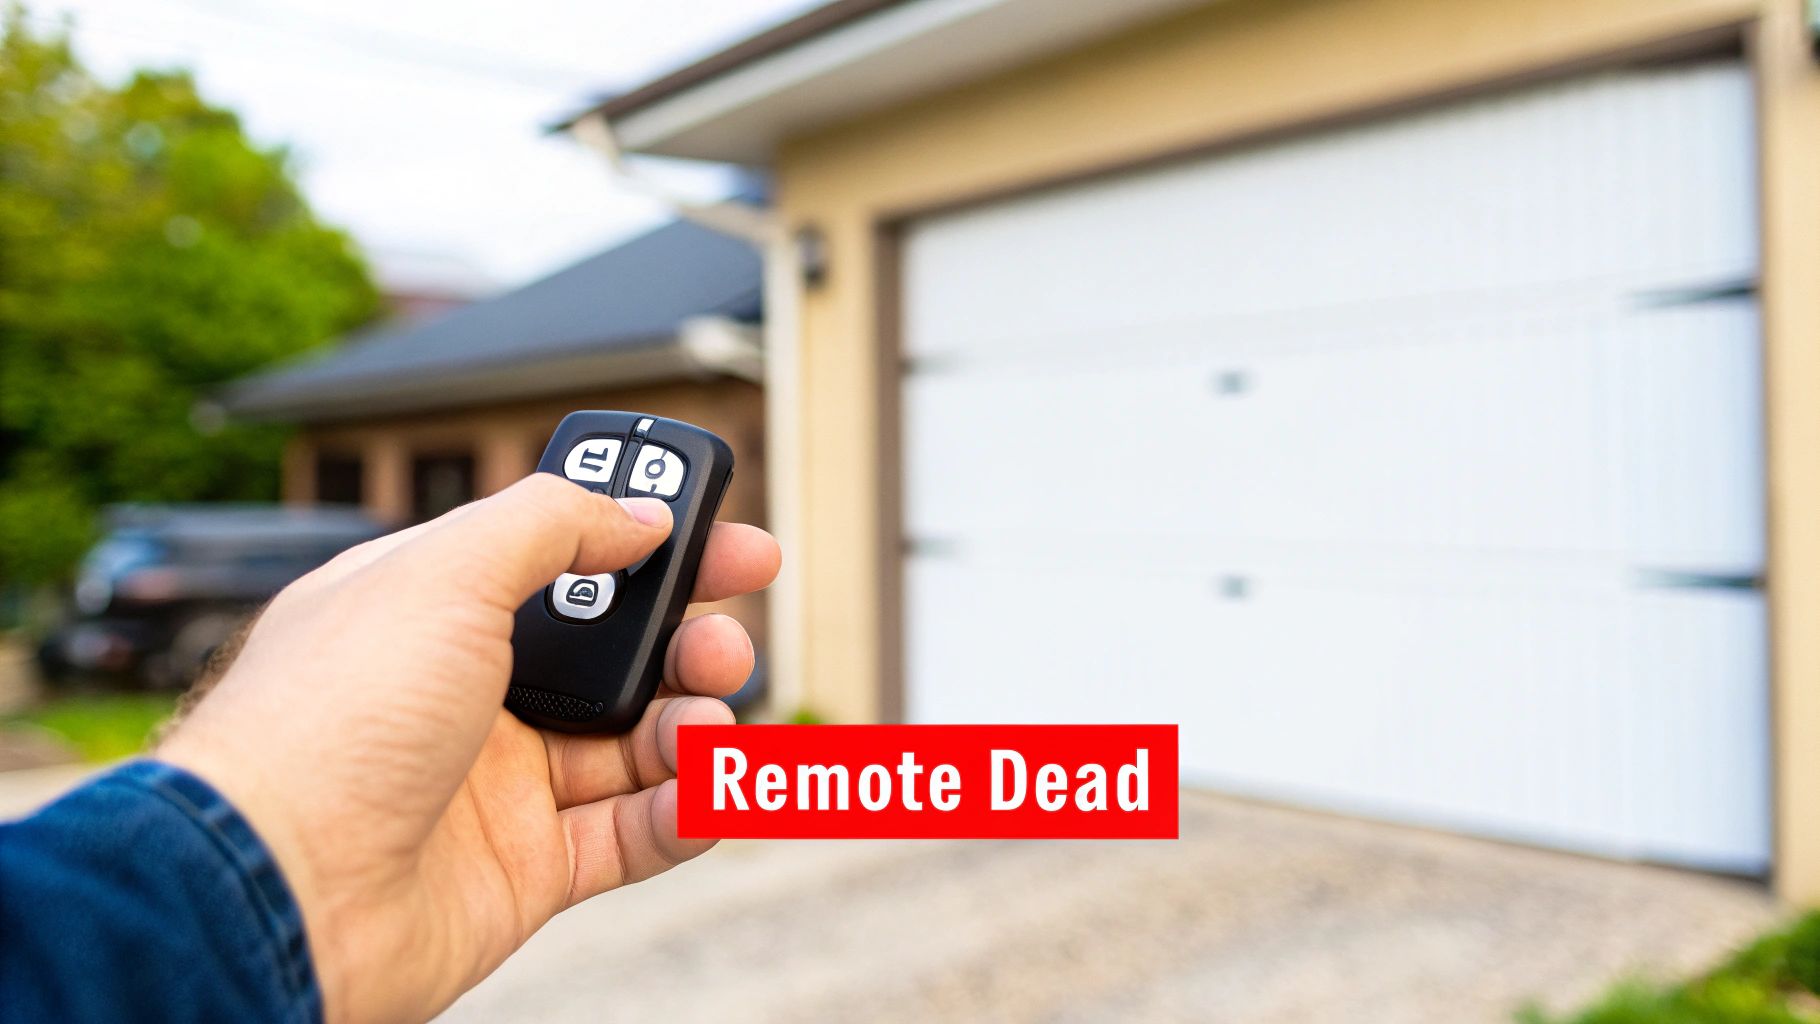
Countless "broken" opener service calls turn out to be just a dead remote battery. It’s the single most common reason for a remote to stop working. The wild temperature swings we get in Texas and Oklahoma—from scorching summer heat to sudden cold snaps—are especially hard on those little batteries, so they can die much faster than you’d expect.
Swapped the battery and still nothing? The next likely suspect is radio frequency interference, or RFI. It sounds technical, but the cause is often mundane. Believe it or not, certain LED light bulbs can emit a signal that completely jams your remote.
Here’s a practical way to check for this:
- Unscrew all the light bulbs from the garage door opener unit.
- Step back to your usual spot and try the remote again.
If the door magically starts working, you’ve found your problem. The solution is to replace the bulbs with manufacturer-approved, low-RFI LEDs specifically designed for garage door openers. Keep an eye out for other new electronics in the garage, too; anything from a new power tool charger to a smart home device can sometimes cause interference.
Reprogramming Remotes and Keypads
If you’ve checked the power, the battery, and for interference, the remote might have just lost its sync with the motor. This happens from time to time, and thankfully, getting them talking again is usually pretty straightforward.
Look on the motor unit itself for a "Learn" or "Program" button. Pressing it will put the opener into a pairing mode. From there, you just need to press the button on your remote to re-establish the connection. The exact sequence can differ a bit between brands like LiftMaster or Genie, so having your owner's manual handy is always a good idea. For a closer look at other common problems, you can find more tips on our blog covering various door opener malfunctions.
Key Takeaway: Always start with the simplest solutions. A fresh battery, a reset GFCI outlet, or removing an interfering LED bulb solves the vast majority of remote-related issues, saving you both time and money.
Understanding Mechanical Failures and Strange Noises
Sometimes, the problem with your garage door opener isn't silence—it's noise. A whole symphony of unsettling sounds. That grinding, squealing, or jarring clank isn't just an annoyance; it's a direct message from the motor and drive system telling you something is seriously wrong. Learning to translate those sounds is the first step toward a proper diagnosis.

These noises rarely happen for no reason. For instance, a loud, high-pitched grinding is the classic sign of stripped or broken gears inside the motor unit. Over years of use, the plastic or nylon gears that move the chain or belt can simply wear out and fail, especially if they’ve been hauling an unbalanced door. When that gear gives way, you'll hear the motor spinning, but none of that power is actually reaching the door.
Different Drive Systems, Different Sounds
The kind of opener you have—whether it's in a residential garage in Abilene or a commercial warehouse in Lawton—plays a huge role in what might go wrong. Each drive system has its own unique acoustic signature when it's in trouble.
- Chain Drive Openers: These are the workhorses—loud but famously durable. If you start hearing a clanking or slapping sound, the chain is probably too loose and hitting the rail. A grinding noise mixed with jerky movement, on the other hand, often points to a worn-out sprocket at the top of the motor.
- Belt Drive Openers: Praised for their quiet operation, any new noise is a major red flag. A squeal usually means the belt is slipping or has debris caught in it. If you hear more of a thumping sound, the issue might be with the pulley system.
- Screw Drive Openers: With fewer moving parts, these are generally reliable, but they can get loud without proper maintenance. A harsh scraping noise is a dead giveaway that the screw mechanism is dry and needs a specific type of lubricant. Neglecting this leads to premature wear on the trolley and motor.
Here in Texas and Oklahoma, our notorious dust can wreak havoc on these systems. Regular cleaning and lubrication aren't just suggestions; they are critical preventative steps.
Industry Insight: Any new, loud noise is almost always a sign of mechanical stress. Ignoring a grinding or squealing opener is like driving with your check engine light on—the problem will only get worse and more expensive to fix.
Knowing When to DIY vs. When to Call a Pro
While some maintenance tasks are manageable for homeowners or facility managers, you have to know where to draw the line. Getting into the motor and drive assembly can be complex and dangerous without the right tools and training.
Actionable DIY Tips:
- Applying the manufacturer-recommended lubricant to a chain or screw drive.
- Checking and tightening any loose nuts and bolts on the opener brackets and rail.
- Wiping down the drive system to clear away dirt and grime.
However, when it comes to replacing the main drive gear, servicing the motor itself, or repairing a drive sprocket, it's time to call in a professional. These are core components, and a botched repair can cause even more damage or create a serious safety risk.
If you're staring down a significant mechanical issue, you'll want expert help with your garage door repair. For true peace of mind, a preventative maintenance plan can stop these problems before they start. And if your opener is old and constantly acting up, investing in one of today's modern garage door openers might be the smartest move you can make.
Knowing When to Call a Professional Technician
While it's tempting to tackle every repair yourself, garage door openers have a few non-negotiable red lines. Knowing when to put down the tools and pick up the phone is key, not just for the health of your door, but for your own safety.
The golden rule is simple: if the repair involves anything under high tension, it's a job for a pro. Period.
Red Flags That Demand an Expert Eye
We're talking specifically about torsion springs and lift cables. Those springs above your door are wound incredibly tight to lift hundreds of pounds of weight. If one snaps, it can release with violent, explosive force. The same goes for frayed or broken cables. If you see a gap in the spring or a busted cable, do not touch it. Call for service right away.
Other signs point to problems that are more than just a simple fix. These symptoms usually hint at bigger mechanical or electrical failures that need a trained eye and specialized equipment.
- Persistent Electrical Issues: Is your opener constantly tripping the circuit breaker? Do you smell something burning from the motor unit? Unplug it immediately. That’s a potential fire hazard.
- Door Off Its Track: A door that's jumped the track is a big deal. Trying to force it back can bend the panels, wreck the rollers, and cause far more expensive damage.
- Grinding, Screeching Noises: Loud, unusual noises from the motor often signal internal gear failure, which is not a simple part-swap for the average homeowner.
A garage door with a broken spring or one that's off its track is more than just an inconvenience—it's a serious safety risk. The entire system is unstable and the door could fall without warning.
The Dangers of DIY Overreach
Trying to save a few bucks on a dangerous repair isn't worth the risk. Garage doors are one of the heaviest moving objects in any home or business, leading to over 30,000 injuries in the U.S. every year according to the CPSC. The average residential door weighs over 400 pounds.
Even mandated safety features require verification. While safety reverse mechanisms have been required since 1993, some studies found that nearly 40% of them failed to work properly during testing. This is exactly why expert oversight is so critical.
Some garage door opener issues are definitely DIY-friendly, but high-tension repairs fall squarely into the category of DIY jobs you shouldn't attempt yourself. A certified technician isn’t just bringing a toolbox; they're bringing years of experience and a deep understanding of local building codes in Texas and Oklahoma. They ensure your entire system is UL 325 compliant and can perform a proper balanced door test to prevent unnecessary wear and tear on your opener.
When you run into one of these serious problems, the smartest and safest move is to trust the professional door repair technicians who can guarantee the job is done right.
DIY vs. Professional Repair Checklist
Still not sure whether to grab your tools or your phone? This quick checklist should help you make the right call for your Texas or Oklahoma property.
| Symptom / Issue | Recommended Action (DIY) | When to Call a Pro Immediately |
|---|---|---|
| Opener Won't Respond | Check power, batteries in remote, and look for obstructions blocking the safety sensors. | If power is confirmed and basic checks fail, or if you hear a humming/buzzing sound. |
| Door Reverses on Closing | Clear any obstructions and clean the safety sensor lenses. Check sensor alignment. | If sensors are aligned and clear but the issue persists; could be a logic board problem. |
| Grinding or Squeaking | Lubricate rollers, hinges, and springs with a garage door-specific lubricant. | If the noise is loud, metallic, and comes directly from the opener motor unit. |
| Broken Torsion Spring | DO NOT TOUCH. Clear the area and cease all use of the door. | Always. This is extremely dangerous due to the high tension involved. |
| Frayed or Snapped Cables | DO NOT TOUCH. These are also under extreme tension and connected to the spring system. | Always. Attempting to handle or replace these can lead to serious injury. |
| Door is Off-Track | DO NOT ATTEMPT TO FORCE IT. Disconnect the opener to prevent further damage. | Always. A pro needs to safely reset the door and identify the root cause. |
Ultimately, your safety is the top priority. If a repair feels too complex or dangerous, it probably is. Making the call for professional help ensures a safe, reliable, and long-lasting fix.
Answering Your Lingering Opener Questions
Even after going through the usual troubleshooting steps, you might still have questions about your opener's specific quirks. Based on years of service calls across Texas and Oklahoma, these are the questions we get asked the most.
Why Do I Have to Be Right Next to the Garage for My Remote to Work?
This is a classic problem: your remote only works when you're practically touching the door. Nine times out of ten, this is a signal strength issue, and it usually comes down to one of two things: radio frequency interference (RFI) or a problem with the antenna.
Believe it or not, the most common culprit we see for RFI is the wrong kind of LED light bulb. Some generic LEDs can actually broadcast a frequency that interferes with your opener’s receiver. The first thing you should do is unscrew the bulbs in the motor unit itself, then give the remote a try from down the street. If it suddenly works perfectly, you've found your problem. Just make sure to replace them with bulbs specifically shielded for garage door opener use.
If the bulbs aren't the issue, take a look at the thin antenna wire dangling from the motor. It should be hanging straight down and not be damaged or touching any metal. If that doesn't fix it, the receiver on the logic board itself might be on its way out, and that’s a job best left to a professional.
Does the Crazy Weather in Texas and Oklahoma Affect My Opener?
Absolutely. The wild weather swings in our region are a huge factor in opener breakdowns. That blistering summer heat can cook the delicate electronic components on the circuit board, causing them to fail prematurely. And our trademark humidity? It can cause corrosion on electrical contacts and wiring.
Then there are our infamous cold snaps. When the temperature plummets, the lubricant on the door’s track and inside the opener can get thick and gummy. This makes the motor strain to lift the door, which can either trip the safety sensors or, in a worst-case scenario, completely strip the internal gears.
A Pro Tip From the Field: Our frequent thunderstorms are notorious for killing openers. A power surge from a lightning strike, even one that isn't a direct hit, can instantly fry the logic board. We can't stress this enough: plug your opener into a quality surge protector. It's a cheap insurance policy.
My Garage Door Starts to Close, Then Goes Right Back Up. What’s Happening?
This is easily one of the most common problems with garage door openers we get called about, and it’s almost always a safety feature doing its job. The first place you should look is the safety sensors.
Inspect the two little photo-eyes mounted near the bottom of your door tracks. Is there a stray box, a broom, or even a thick spiderweb blocking the beam between them? Also, check the tiny LED lights on each sensor—they should both be glowing steadily. If one is blinking, it means they’ve been knocked out of alignment.
If the sensors look good, the issue might be the "close force" setting on the opener. If the tracks are dirty or the rollers are sticking, the door might encounter just enough resistance for the opener to think it's hit something, causing it to reverse. You can try making a very slight adjustment to this setting (your owner's manual will show you how), but if the problem persists, it could mean the door itself is out of balance and needs a professional tune-up.
When you've tried the simple fixes and your garage door opener is still giving you grief, it's time to call in the experts. At Overhead Door Co. of Tex-Oma, our certified technicians have seen it all and have the right tools to get the job done safely. Contact us today for service you can count on across Texas and Oklahoma.
