Winterizing your garage door is a critical home maintenance task, especially across Texas and Oklahoma where sudden temperature drops can strain mechanical systems. We recommend focusing on four key areas: inspecting and sealing for drafts, lubricating all moving parts, testing the safety features, and optimizing insulation. This proactive approach not only protects your door from the stress of cold weather but also prevents significant heat loss from your home, directly impacting your energy bills.
Why Winterizing Your Garage Door Matters
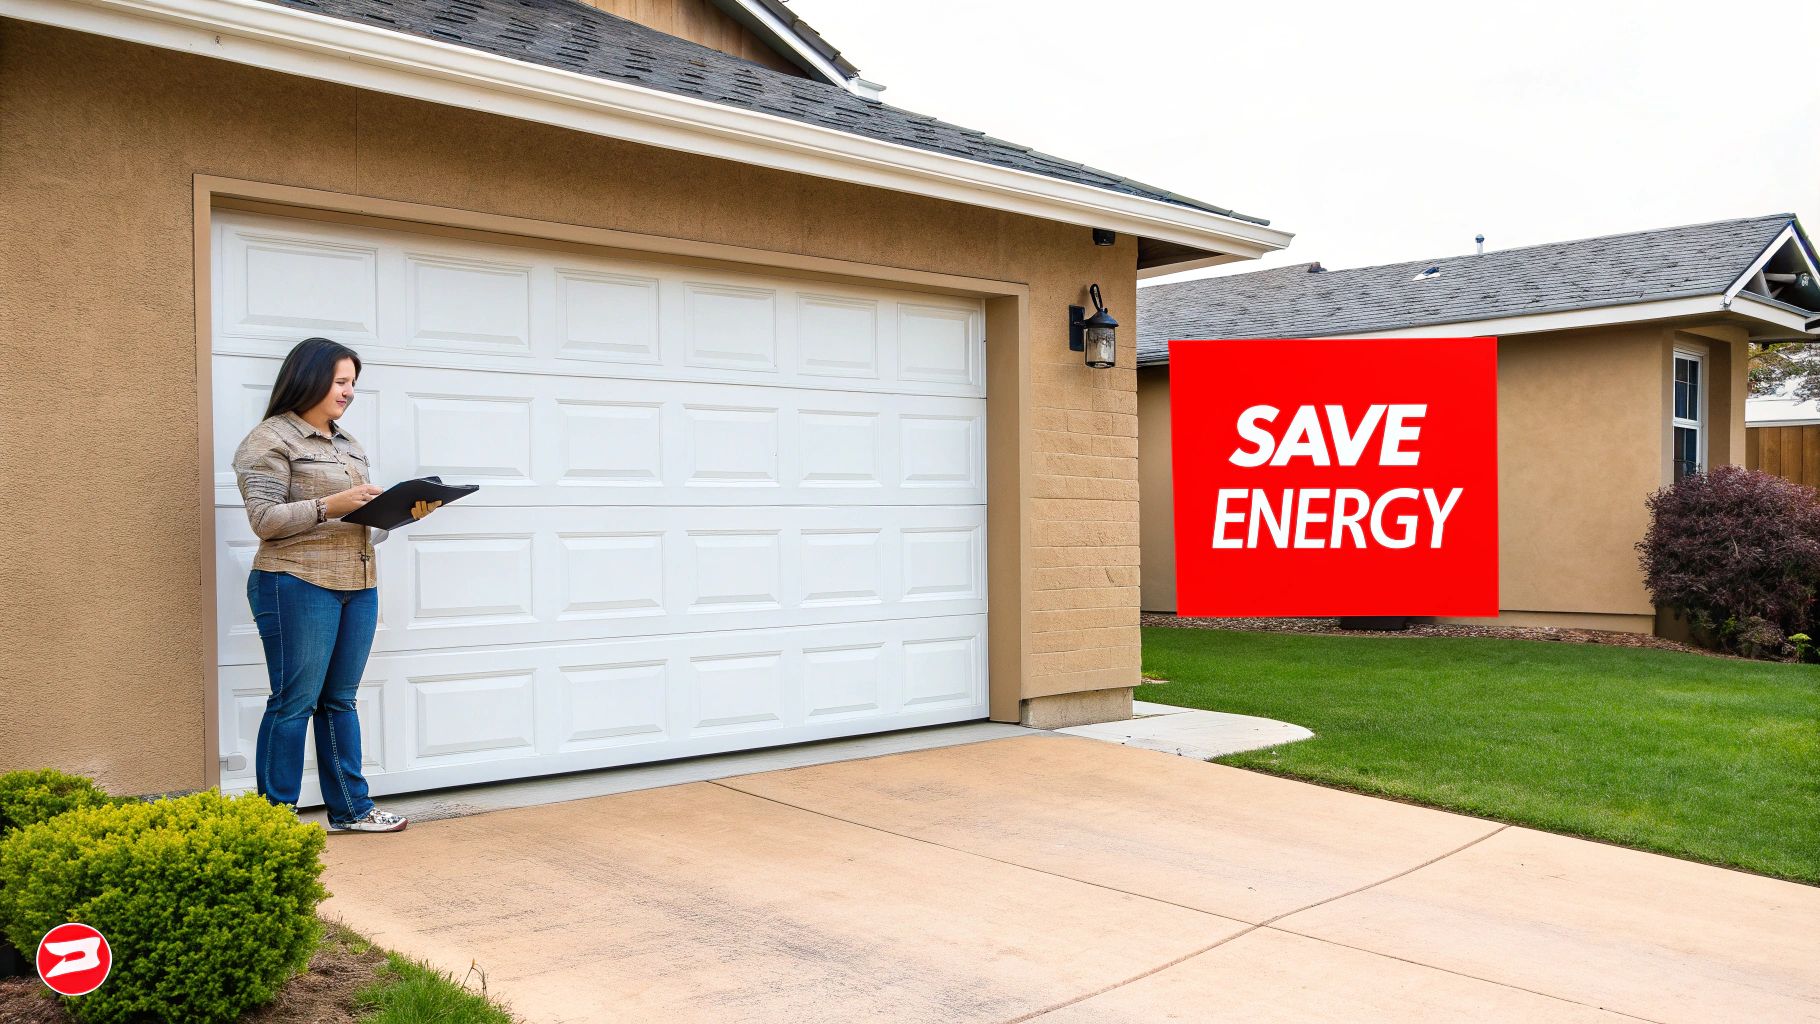
Before diving into the practical steps, let's establish why this is a crucial project for both homeowners and businesses. In Texas and Oklahoma, where the weather can be unpredictable, a well-maintained garage door is your first line of defense against the cold. It’s a strategic investment to lower your energy consumption by sealing what is often the largest single opening in a building's thermal envelope.
This isn't just about comfort; it's about operational efficiency, asset protection, and the long-term structural integrity of your property. The benefits are tangible, measurable, and impact both your operational budget and your building's overall health.
Protecting Your Investment and Your Wallet
An unsealed, uninsulated garage door is a major source of energy loss. According to the U.S. Department of Energy, an attached garage can share one or more walls with your home, making its temperature directly affect your living space and heating costs. Proper weatherproofing is crucial for protecting the door mechanism and everything stored inside during colder months.
Insulated doors are a growing segment of the market, with North America accounting for 36% of the global garage door market revenue, driven by a demand for energy efficiency. Data shows that properly sealing and insulating a garage door can reduce heat loss through that space by an incredible 71%, which translates directly to lower heating bills.
Beyond direct energy savings, proactive winter preparation offers several key advantages:
- Mechanical Protection: Cold weather causes metal components like springs, rollers, and tracks to contract and become brittle. Proper lubrication minimizes the strain that leads to costly, inconvenient breakdowns.
- Asset Safeguarding: A well-sealed garage protects vehicles, tools, and inventory from damaging moisture, pests, and freezing temperatures that can compromise their integrity.
- Enhanced Home & Workplace Comfort: For attached garages, a cold garage creates cold spots in adjacent rooms and forces your HVAC system to work harder. Winterizing creates a thermal buffer, keeping interior spaces noticeably warmer and more stable.
A properly winterized garage door does more than keep the cold out. It safeguards the door's complex mechanical system, prevents expensive emergency repairs, and contributes to a more energy-efficient and compliant building envelope.
To provide a clear action plan, here’s a breakdown of essential tasks and their impact.
Key Winterization Tasks and Their Impact
This table provides a concise overview of essential winterization steps and the direct benefits they provide for your home or commercial property.
| Action Item | Primary Benefit | Best Time to Perform |
|---|---|---|
| Clean and Lubricate | Prevents metal parts from seizing in the cold, ensuring smooth and reliable operation. | Early to Mid-Fall |
| Inspect and Replace Weatherstripping | Seals gaps to block drafts, moisture, and pests, directly improving energy efficiency. | Late Summer or Early Fall |
| Check and Adjust Safety Sensors | Guarantees the auto-reverse function works correctly, a critical safety measure under UL 325. | Twice a year (Fall & Spring) |
| Add Insulation (if needed) | Creates a thermal barrier, significantly reducing heat loss and improving interior comfort. | Before the first major freeze |
Completing these tasks before winter is a best practice for property maintenance, ensuring your garage is prepared for seasonal challenges.
While focusing on the door, consider the entire space. Taking time for organizing your garage not only improves functionality but also protects stored items from potential moisture and cold damage.
Sealing Drafts with New Weatherstripping
Your garage door’s weatherstripping is the primary barrier against winter air infiltration. Much like a refrigerator gasket, a compromised seal undermines the entire system. The intense sun common in Texas and Oklahoma accelerates the degradation of rubber and vinyl, causing seals to become brittle, crack, and lose their effectiveness.
Even minor gaps allow for significant air exchange, introducing cold air, moisture, and pests into your garage.
A simple diagnostic test can reveal a failed seal. During the day, close the garage door and turn off all interior lights. If you can see daylight penetrating the bottom or sides, your seal is compromised. Other clear indicators include visible cracks, crumbling material, or a flattened, non-compliant seal.
Choosing the Right Material for the Climate
When replacing a seal, selecting a material suited for our regional climate is crucial for long-term performance.
- Vinyl Seals: This is a common and effective choice. Vinyl is a durable, cost-effective material that maintains its integrity across wide temperature fluctuations, making it a reliable option for most residential and commercial applications.
- Rubber Seals: Rubber offers superior flexibility compared to vinyl, which is a significant advantage in cold weather. This flexibility allows it to form a tighter seal against uneven concrete floors, which are common in many garages.
- Brush Seals: For commercial roll-up doors or environments where dust and pest control are as important as draft prevention, brush seals are an excellent upgrade. Their dense bristles conform perfectly to irregular surfaces.
Once you identify your needs, you can find a wide range of garage door accessories engineered for our climate.
The Installation Process for an Airtight Fit
Replacing a bottom seal is a high-impact DIY project that yields immediate energy savings.
First, open the garage door fully and disconnect power to the opener to ensure safety. The old weatherstripping is typically held in a retainer track along the door's bottom edge. It should slide out, but older, hardened seals may require pliers for removal.
According to industry studies, a drafty garage door can increase air infiltration into an attached home by as much as 40%, significantly impacting heating costs. A new weather seal is one of the most cost-effective energy upgrades you can make.
After removing the old seal, thoroughly clean the retainer track of any accumulated dirt or debris. A helpful tip is to apply a silicone lubricant or a small amount of dish soap inside the track's grooves. This will significantly reduce friction when installing the new seal.
Carefully feed the new seal into the retainer from one end, guiding it smoothly to the other side. Ensure it sits flat without bunching. Once in place, trim any excess material for a clean finish. This single action fortifies your garage against winter conditions.
Choosing and Installing Garage Door Insulation
To mitigate heat loss, insulation is non-negotiable. A large, uninsulated metal door has a very low thermal resistance, acting as a major source of energy inefficiency during a Texas or Oklahoma cold snap.
Fortunately, retrofitting an existing door with a DIY insulation kit is a practical and cost-effective project. These kits are specifically designed to fit standard garage door panels.
Understanding Your Insulation Options
The key metric for insulation is its R-value, which measures its resistance to heat flow. A higher R-value indicates better insulating performance. For most garages in our region, an R-value between R-8 and R-12 provides a strong balance of performance and cost.
Here are the most common insulation types for garage doors:
- Foam Board Insulation: This is the most recommended option for DIY projects. Typically made of rigid expanded polystyrene (EPS) or extruded polystyrene (XPS), these panels are lightweight, easy to cut, and offer a high R-value per inch of thickness.
- Reflective Foil Insulation: Often called a radiant barrier, this material reflects radiant heat. It is most effective when combined with a foam core, which provides a thermal break and adds to the overall R-value.
- Fiberglass Batts: Similar to attic insulation, these kits come in pre-cut rolls. They are highly effective but require careful handling. Always wear gloves, long sleeves, and safety glasses to prevent skin and eye irritation, in line with OSHA personal protective equipment (PPE) recommendations.
The Installation Process
With your kit selected, installation is straightforward. Begin by thoroughly cleaning the interior surface of your garage door to ensure proper adhesion for fasteners or tape.
Next, measure each door panel individually, as dimensions can vary slightly. Use a sharp utility knife and a straight edge to make clean, precise cuts. Most kits include fastening pins or clips that adhere to the door and secure the insulation panels.
A snug fit is critical. Gaps or compression points create "thermal bridges" that allow heat to bypass the insulation, reducing its overall effectiveness. Precision during installation is key to achieving the stated R-value.
This visual guide outlines the complete winterization process, from initial inspection to final checks.
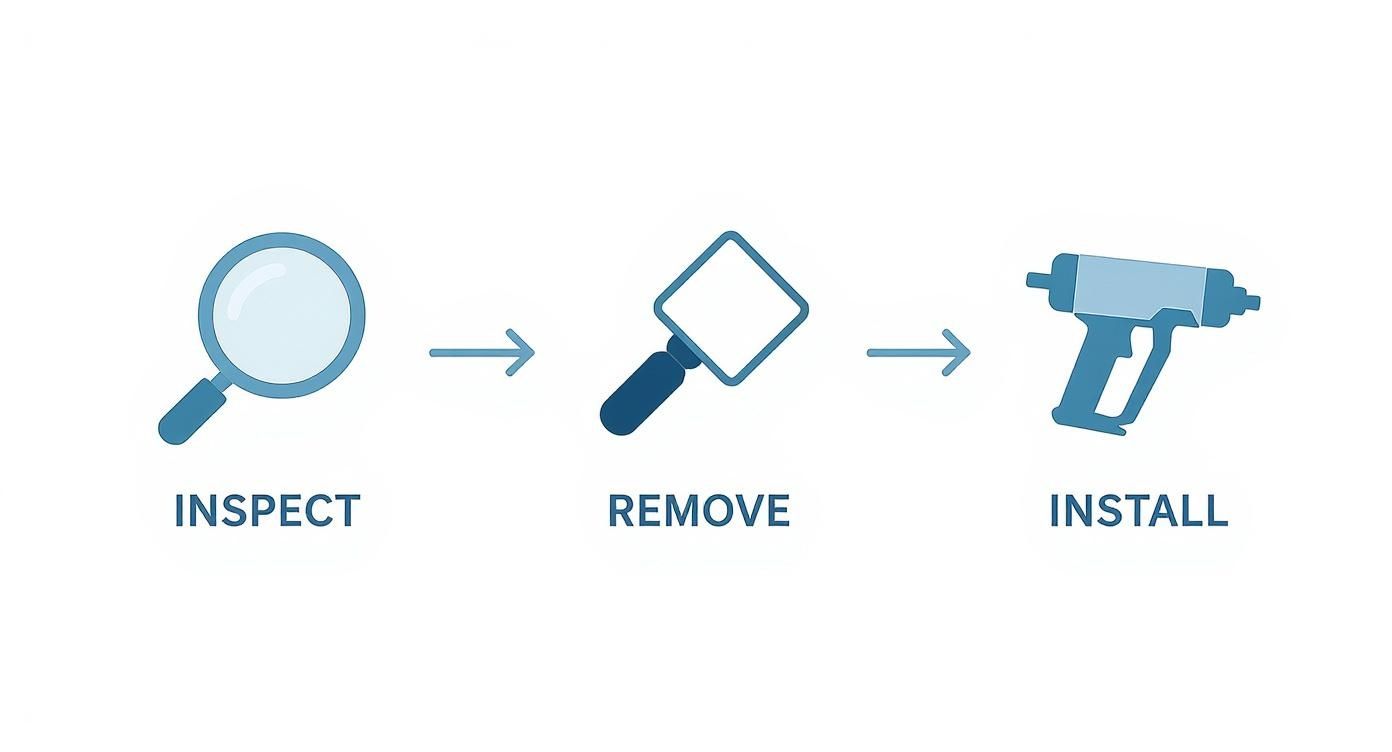
As the infographic illustrates, a thorough inspection is the foundation of a successful winterization project. Identifying problem areas is the first step toward remediation.
The demand for energy efficiency is a global driver. The European garage door market, for instance, is projected to grow from USD 2.58 billion in 2023 to USD 3.33 billion by 2029, largely due to stricter building codes and consumer demand for better thermal performance. You can read more about this global garage door market trend.
If your existing door is old, damaged, or poorly constructed, retrofitting may not be the most cost-effective solution. A modern insulated door offers superior R-values and integrated weather seals. When a project is beyond DIY scope, a professional garage door installation ensures the job is done to code and performs optimally.
Performing Essential Mechanical Maintenance
Cold temperatures present a significant challenge for the mechanical components of a garage door. In Texas and Oklahoma, a sudden freeze can cause metal parts to contract and lubricants to thicken, forcing the opener to work harder and increasing the risk of component failure.
Preventive mechanical maintenance is the most effective strategy to avoid a breakdown on a frigid morning.
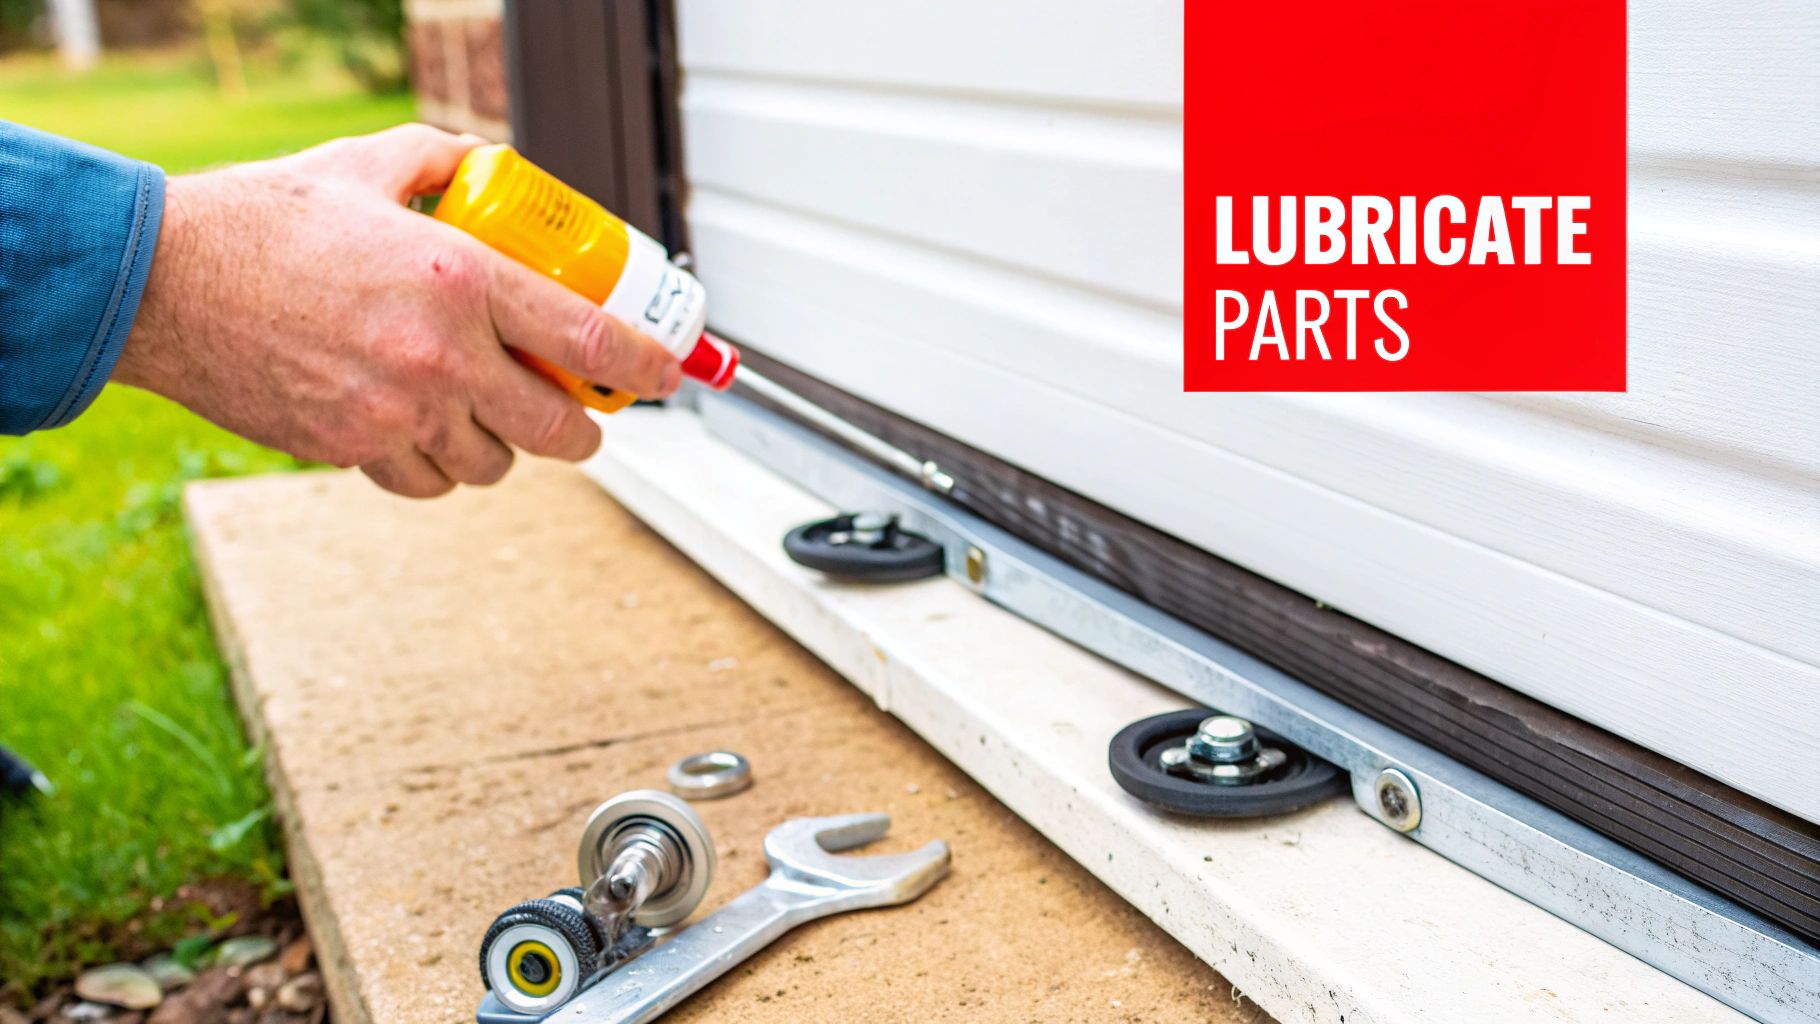
Lubrication Where It Counts
Applying the correct lubricant to key friction points is essential for smooth operation.
- Rollers: Apply lubricant to the ball bearings inside the rollers. Avoid spraying the track itself, as this can cause rollers to slip rather than roll.
- Hinges: Lubricate all hinge pivot points to ensure they move freely.
- Springs: A light coating on torsion or extension springs helps prevent corrosion and reduces friction-related noise.
Crucially, avoid using penetrating oils like WD-40 for this task. It is a solvent, not a long-term lubricant, and can strip away the grease required for proper function, accelerating wear. Always use a silicone or white lithium grease spray specifically formulated for garage doors. For commercial settings, consult your door's manual for specific lubrication requirements, which may differ from residential guidelines.
The Garage Door Balance Test
An improperly balanced door places excessive strain on the opener motor, leading to premature failure. Testing the balance is a simple but critical diagnostic.
Begin by closing the garage door. Next, pull the red emergency release cord to disconnect the door from the opener. Manually lift the door to about waist height and carefully let go.
A properly balanced door should remain stationary, moving no more than an inch or two. If it slams shut or flies open, the spring tension is incorrect and requires professional adjustment.
An unbalanced door is not only inefficient but also poses a significant safety risk. If your door fails this test, or if you notice grinding noises or frayed lift cables, it is imperative to call a professional. Adjusting high-tension springs is extremely dangerous and should only be performed by a qualified technician. We offer expert garage door repair to safely address these issues.
This seasonal check is one of the most important essential home maintenance tips for ensuring the long-term reliability of your property.
Run Through Your Critical Safety System Checks
A winter-ready garage door is not just efficient—it's safe. Cold and moisture can interfere with safety systems, making a pre-season check a non-negotiable part of your maintenance routine.
Test Your Photo-Eye Sensors
The photo-eye sensors are a critical safety component. These small electronic devices, mounted on each side of the door opening approximately six inches from the floor, detect obstructions and prevent the door from closing. Winter moisture, debris, or accidental bumps can easily cause misalignment.
To test them, start closing the door and pass an object, like a broom handle, through the sensor beam. The door should immediately stop and reverse. If it fails to do so, first clean the sensor lenses with a soft, dry cloth. Check the indicator lights on each sensor; they should be solid, not blinking. A blinking light typically indicates misalignment.
Check the Auto-Reverse Mechanism
Next, test the auto-reverse mechanism, a safety feature mandated by UL 325 safety standards. This test is a vital diagnostic of your opener's pressure sensitivity.
Place a 2×4 board flat on the ground in the door's path. Activate the door to close. Upon contact with the board, the door must automatically reverse direction within two seconds. If it continues to exert downward pressure, the force setting is incorrect and requires professional adjustment. A door that fails this test is a serious safety hazard.
A malfunctioning auto-reverse system can exert a dangerous amount of force, posing a significant risk of injury or property damage. The 2×4 test is one of the most critical safety checks a homeowner or business owner can perform.
For commercial properties in Texas and Oklahoma, extend this inspection to dock seals and shelters. A damaged seal allows for massive energy loss, creating uncomfortable working conditions and driving up heating costs, which can also be an OSHA concern in extreme temperatures.
If these safety checks reveal that your door lacks modern safety features, it may be time for an upgrade. A professional garage door installation is an investment in safety, security, and long-term energy efficiency.
Answering Your Garage Door Winterization Questions
Here are answers to common questions from homeowners and facility managers about preparing garage doors for winter.
How Often Should I Winterize My Garage Door?
For the Texas and Oklahoma climate, an annual comprehensive check is the industry benchmark. The ideal time is late fall, before the first significant cold front. This timing ensures your door is prepared for sudden temperature drops and winter precipitation. A quarterly visual inspection of weatherstripping is also recommended.
Can I Just Use WD-40 for Lubrication?
This is a common and costly mistake. WD-40 is a solvent and degreaser, not a lubricant. It will strip away the essential grease on your door's moving parts, increasing friction and causing premature wear.
Always use a silicone-based or white lithium grease spray specifically formulated for garage doors. This will provide the durable lubrication needed for reliable operation in cold weather.
A properly insulated garage door can keep the garage 10-20°F warmer than the outside temperature. For an attached garage, this creates a significant thermal buffer that reduces heat loss from adjacent living or working spaces, lowering overall energy costs.
Is It Worth Insulating My Existing Metal Garage Door?
Absolutely. For any garage attached to a conditioned space, insulating the door is one of the most effective energy conservation upgrades you can make. Beyond energy savings, insulation adds rigidity and strength to the door panels. This reinforcement often leads to quieter operation and increased durability against daily wear and tear.
What Are the Warning Signs That I Need a Professional?
Certain symptoms require immediate professional attention. If the door becomes difficult to lift manually, makes loud popping or grinding noises, or fails the balance test, it's time to call a technician.
Most importantly: never attempt to adjust or repair garage door springs yourself. These components are under extreme tension and can cause severe injury or death if handled improperly.
When you require professional service for your garage door, trust the certified technicians at Overhead Door Co. of Tex-Oma. We have the expertise and quality parts to ensure your door is safe, compliant, and ready for winter. Contact us today to schedule a professional inspection or service call for your home or business.