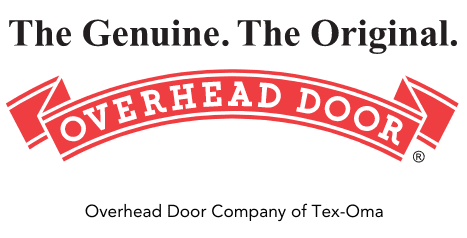
Pairing a new remote to your Overhead Door opener is a surprisingly simple task that business owners and homeowners across Texas and Oklahoma can complete in minutes. On most modern units, the process centers on a "Learn" or "Program" button located on the motor housing, typically near the antenna wire. A quick press of that button, followed by a press on your remote, is often all it takes to establish a secure connection.
Getting Started With Your Remote Programming
Before you begin, a few preparatory steps can ensure the process is efficient and successful. Mastering this skill is valuable for any property owner in Texas or Oklahoma, and the entire procedure rarely takes more than five minutes. Best of all, you likely have everything you need on hand.
Essential Tools and Safety Checks
The only "tool" typically required is a sturdy stepladder for safe access to the garage door opener's motor unit. A practical, data-driven tip is to always start with a fresh battery for the remote. A weak battery is the leading cause of programming failures, and this simple step can prevent significant troubleshooting later.
Safety must be the priority. Ensure the garage door's path is completely clear of vehicles, equipment, pets, and people. Every modern garage door opener must comply with UL 325 safety standards, but a clear path remains a non-negotiable prerequisite for any programming or maintenance work.
As a best practice, perform a quick system diagnostic. Verify the safety sensor lights at the base of the door are aligned and solid (not blinking), which confirms the safety system is operational. Also, ensure the opener's antenna wire hangs straight down to optimize signal reception from your remote.
If you encounter issues or prefer professional assistance, specialized product assembly services are often equipped to handle this type of setup for both residential and commercial applications.
For quick reference, this table outlines the standard programming method.
Quick Programming Reference
| Item/Action | Description | Purpose |
|---|---|---|
| Stepladder | A stable ladder to reach the opener's motor unit. | Safely accessing the "Learn" or "Program" button. |
| "Learn" Button | The programming button on the motor unit, often near the antenna wire. | Puts the garage door opener into pairing mode. |
| Remote Button | The specific button on your handheld remote you want to program. | Sends the signal that the opener will "learn" and respond to. |
| Clear Pathway | Ensuring nothing obstructs the garage door's path of travel. | Prevents accidents and damage during testing, adhering to safety norms. |
| Confirmation | Look for flashing lights on the motor unit or listen for an audible click. | Confirms that the remote has been successfully paired with the opener. |
This table provides a benchmark, but always consult your owner's manual for model-specific instructions.
A successful sync is usually confirmed by the opener's lights flashing or an audible click. This simple feedback loop tells you the remote and opener have established a secure connection, giving you immediate access and control.
What to Do Before You Start Programming
Before pressing the "Learn" button, a few preliminary checks can prevent common frustrations. These actionable steps often mean the difference between a two-minute sync and a prolonged troubleshooting session.
First, confirm your remote is compatible with your Overhead Door opener. This may seem obvious, but it is the number one reason for programming failure. An older remote using fixed-code technology will not communicate with a modern rolling-code opener. Cross-reference the model numbers on the opener motor and the back of the remote to verify compatibility.
Check Your Power and Clear the Slate
With compatibility confirmed, install a fresh battery in the remote. We've seen countless "failed" programming attempts resolved with this simple fix. A weak battery produces a faint signal that the opener's receiver cannot detect, mimicking a more complex system failure.
For businesses or new homeowners in Texas and Oklahoma, clearing the opener's memory is a critical security measure. This action erases all previously synced remotes, ensuring only your authorized devices can operate the door.
Pro Tip: To wipe the opener's memory, find the "Learn" button on the motor unit. Press and hold it for approximately 6-10 seconds, or until the adjacent LED indicator light turns off. This provides a secure, clean slate for reprogramming.
Final Safety and Accessory Check
Finally, and most importantly, adhere to the safety protocols outlined in the UL 325 standard. Before testing the newly programmed remote, conduct a final visual sweep to ensure the door's path is clear.
The global market for garage door remotes is projected to reach approximately $1.479 billion by 2025, underscoring the demand for secure and convenient access. You can review the latest industry research to understand market trends. To enhance your own system, consider exploring keypads, safety sensors, and other essential garage door accessories that integrate with your opener.
Programming Modern Overhead Door Openers
Programming a modern Overhead Door system is designed to be user-friendly, thanks to the "Learn" or "Program" button located directly on the motor unit. This streamlined process eliminates the technical complexities of older models.
This button is typically located near the antenna wire and is accompanied by an LED indicator light. This light provides crucial visual feedback during programming. Pay close attention to whether it's solid or blinking, as this is how the opener communicates its status.
Locating And Using The Program Button
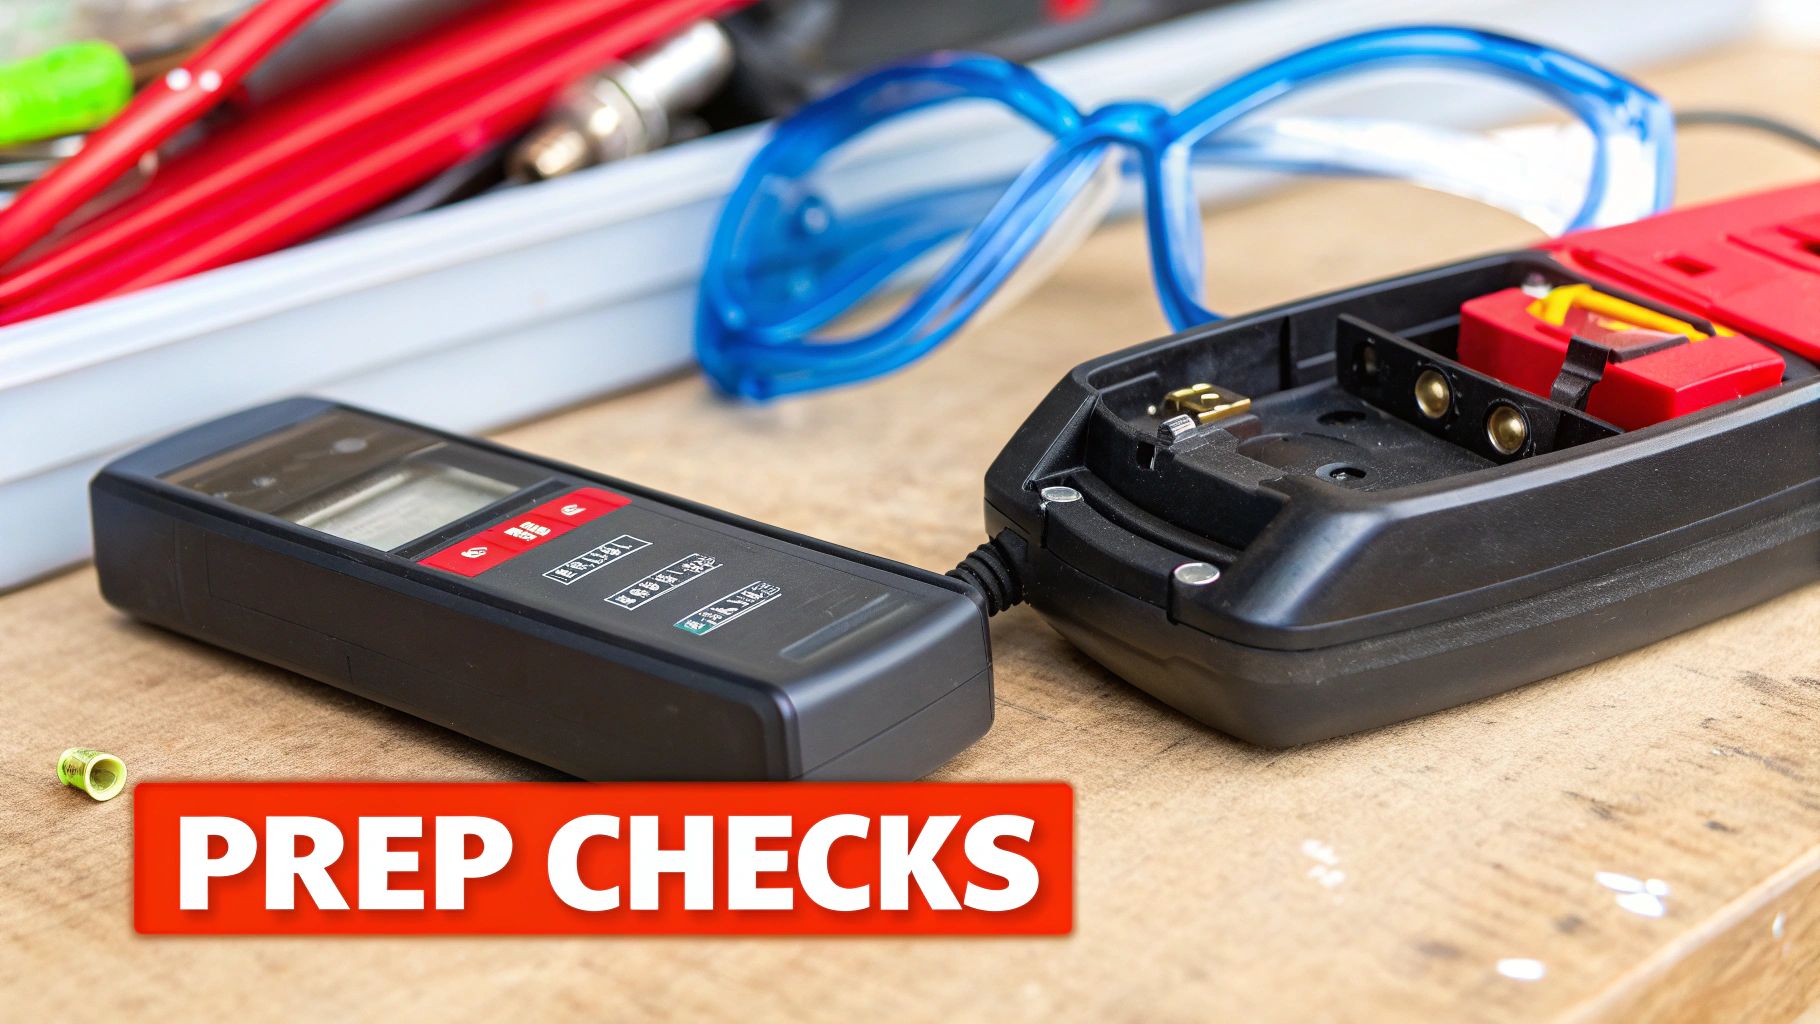
First, use a stable ladder to access the motor unit. The "Program" button is often color-coded (e.g., purple, red, green) for easy identification. Press and release it once. The nearby LED will illuminate or begin flashing, indicating the opener has entered pairing mode.
You have approximately 30 seconds to complete the next step. During this window, press the button on your remote that you wish to program.
This infographic outlines the core steps for pairing your remote.
As shown, the process involves a few quick, decisive actions to sync the remote with the opener.
A successful pairing is confirmed when the main light bulbs on the motor unit flash or you hear an audible "click." This is the opener's confirmation signal. Some models may require a second press of the remote button to finalize the process.
Pro Tip: Do not press and hold the remote button. A single, firm press is most effective. Holding the button can cancel the programming sequence or cause signal confusion.
Syncing Your Vehicle And Other Features
Many vehicles in Texas and Oklahoma are equipped with integrated remote systems like HomeLink®. Programming these systems follows a nearly identical procedure. Press the "Learn" button on the motor unit, then follow your vehicle's owner's manual to link the signal to a button on your visor or dashboard.
This feature is a practical way to reduce clutter and streamline access. If you encounter challenges or need model-specific guidance, we offer a collection of professional garage door resources covering a wide range of residential and commercial systems. Following these steps will get your devices synced for secure, convenient operation.
How to Program Older Models with DIP Switches
If your garage door opener predates the "Learn" button, it likely uses a DIP switch system. This technology was an industry benchmark and is still found in many older homes and commercial facilities throughout Texas and Oklahoma.
These systems use a physical security code. You will find a row of small toggle switches, typically located inside the remote's battery compartment and on the motor unit itself. The specific up-and-down pattern of these switches constitutes the access code.
Matching The DIP Switch Pattern
The programming process is straightforward: the switch pattern in your remote must exactly match the pattern on the motor unit. A single mismatched switch will prevent communication between the devices.
First, open the remote to access the switches. Next, use a ladder to locate the corresponding switches on the motor unit, which may be behind a small cover panel.
- Document the pattern. The most efficient way to ensure accuracy is to take a clear photo of the motor's DIP switches with your smartphone for reference.
- Use the right tool. These switches are small and can be difficult to manipulate. A pen tip or a small screwdriver is recommended for precise adjustments.
- Duplicate the code. Using your photo as a guide, carefully set each switch in the remote to the identical "on" or "off" position as the switches on the motor unit.
While this technology may seem dated, its fixed-code system is highly reliable and less susceptible to the radio frequency interference (RFI) that can sometimes affect modern digital systems.
Once you have confirmed an exact match, reassemble the remote and test it. If it fails to operate, the most common error is a single switch in the incorrect position. If you continue to have issues with an older system, our teams providing commercial garage door service can provide expert diagnosis and repair.
Troubleshooting Common Programming Problems
Even with careful execution, a garage door remote may fail to program correctly. Before scheduling a service call, know that the issue is often one of a few common problems that you can resolve yourself.
If the opener does not respond, the first diagnostic step is to replace the remote's battery. This simple action resolves the majority of programming failures. Next, verify that your remote model is compatible with your opener; a quick search of the model numbers online can confirm this.
If the remote only functions at close range, the likely culprit is Radio Frequency Interference (RFI), a common issue in both residential and commercial settings.
Diagnosing Signal Interference
A frequent source of RFI is low-quality LED light bulbs. The internal electronics in some LEDs can emit a signal that interferes with the frequency used by garage door remotes.
To test this, unscrew the LED bulbs from your garage door opener and attempt to program the remote again. If it now works correctly, you have identified the problem. The solution is to replace them with "garage door opener-friendly" LED bulbs designed to prevent RFI.
If RFI is not the cause, check these other potential issues:
- Misaligned Safety Sensors: Inspect the two sensor "eyes" at the base of the garage door tracks. Blinking or unlit indicator lights signify misalignment, which engages the opener's safety system and often prevents remote programming.
- Full Memory: An opener's logic board can only store a finite number of remotes. If the memory is full, it will not accept new devices. Clearing the memory and reprogramming your current remotes is the required solution.
Industry data shows the North American garage door remote market is projected to hold over a 35% global market share by 2026, highlighting our reliance on this technology. You can review detailed garage door remote market research for more insights.
If you have performed these troubleshooting steps without success, it may be time for professional assistance. For properties in our service area, our technicians providing garage door service in Lawton can diagnose and resolve complex remote issues to restore full functionality to your system.
A Few Common Programming Questions
Our technicians frequently answer the same questions about programming Overhead Door remotes from homeowners in Texas and business owners in Oklahoma. Here are clear, actionable answers to those common queries.
How Do I Wipe the Opener's Memory and Start Fresh?
This is a critical security step when moving into a new property or after an employee transition. Erasing all old remotes from the system's memory ensures only authorized users have access.
To do this, locate the "Learn" or "Program" button on the motor unit. Press and hold it for approximately 6-10 seconds. The process is complete when the adjacent LED indicator light turns off. The memory is now cleared. Note that this erases all programmed devices, so you will need to reprogram any remotes, keypads, and vehicles you intend to use.
Can One Remote Control Multiple Garage Doors?
Yes, multi-button remotes are specifically designed for this purpose.
The programming is intuitive. Follow the standard programming steps for your first door, assigning it to one button on the remote. Once complete, move to the second garage door opener. Press its "Learn" button and then program it to a different button on the same remote. This is an efficient solution for properties with multiple garage bays.
Before extensive troubleshooting for a non-working remote, always replace the battery. A weak battery is the leading cause of sudden signal loss or reduced range.
If a new battery doesn't resolve the issue, the next most likely cause is radio frequency interference (RFI). As noted, certain LED light bulbs can disrupt the remote's signal. Another practical check is the antenna wire on the motor unit. Ensure it is undamaged and hanging straight down to maximize signal reception.
If you've tried these tips and are still stuck, don't hesitate to call in a professional. The team at Overhead Door Co. of Tex-Oma has seen it all and can sort out any programming headache quickly and safely. You can easily schedule residential or commercial garage door services with us online.