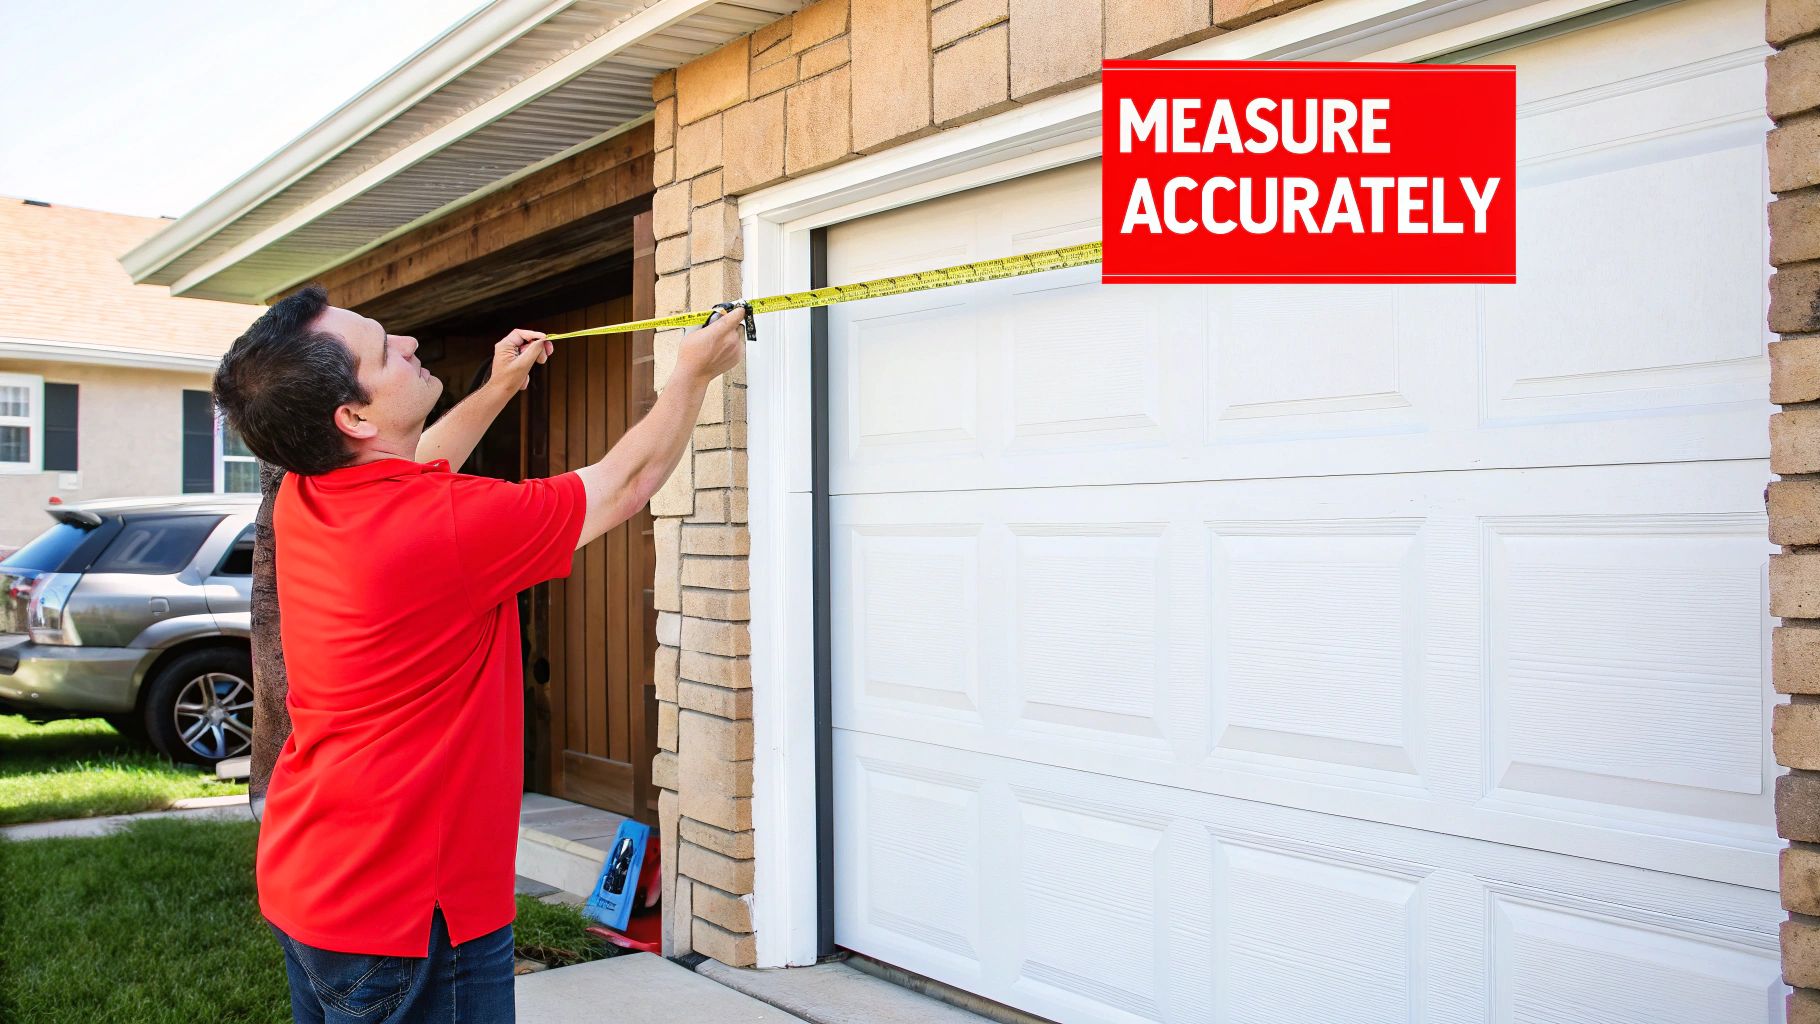
When it comes to fitting a new garage door, close enough isn't good enough. You need flawless precision. An error of just half an inch can compromise the door's security, its energy efficiency, and its operational lifespan. Getting this first step right is the single most important action you can take to ensure your investment performs perfectly from day one. This guide provides the data-driven insights and actionable steps for homeowners and businesses across Texas and Oklahoma to achieve a perfect installation.
Why Getting Garage Door Measurements Right is Non-Negotiable
Think of your measurements as the foundation for the entire project. If the foundation is off, everything that follows will be, too. In our experience serving customers across Texas and Oklahoma, imprecise measurements are the root cause of the most significant and costly installation issues. This is especially true in our regional climate, where a perfect seal is your primary defense against extreme heat, driving rain, and high winds. A door that’s measured correctly isn't a luxury; it's a fundamental requirement for performance and value retention.
Keeping Your Garage Secure and Efficient
If your door is even slightly off-sized, you’ll have gaps. These openings are an invitation for pests, moisture, and potential intruders. They also undermine your property's energy efficiency. According to industry studies, a poorly sealed garage can increase a home's heating and cooling costs by up to 30%. Whether you're battling the summer heat in Abilene or a winter cold snap in Lawton, an improperly fitted garage door acts like a giant open window, forcing your HVAC system to work harder and inflating your utility bills.
A door that fits the opening precisely creates a tight seal on all four sides, protecting your assets and helping to maintain a consistent temperature inside your garage.
Ensuring Smooth Operation and a Longer Lifespan
Every component of your garage door system—the tracks, springs, and opener—is engineered to operate within strict dimensional tolerances. When measurements are wrong, it puts excessive stress on these components. The result? Noisy, jerky operation, premature part failure, and more frequent service calls.
Getting the numbers right from the start is the best way to prevent costly repairs and ensure your door operates safely and reliably for years to come. This initial step directly influences the long-term performance and lifespan of the entire system.
Ultimately, precise measurements are critical because a garage door must fit the opening perfectly to operate smoothly and be energy-efficient. With today's advanced pre-fabrication techniques, providing accurate measurements can cut professional installation error rates by over 25%. Understanding the full cost of a new garage door also makes it clear why avoiding expensive, measurement-related mistakes is so important.
The Five Essential Measurements for a Perfect Fit
Achieving a perfect garage door fit isn't guesswork; it requires five key measurements: width, height, side room, headroom, and backroom. Without accurate figures for all five, you risk significant installation challenges.
The width and height determine the door's size, but the other three measurements are crucial for functionality. They ensure there is adequate clearance for the tracks, springs, and opener to operate safely and without obstruction. For new construction projects, knowing how to read construction blueprints can be a huge help in identifying these critical dimensions early on.
Width and Height: The Starting Point
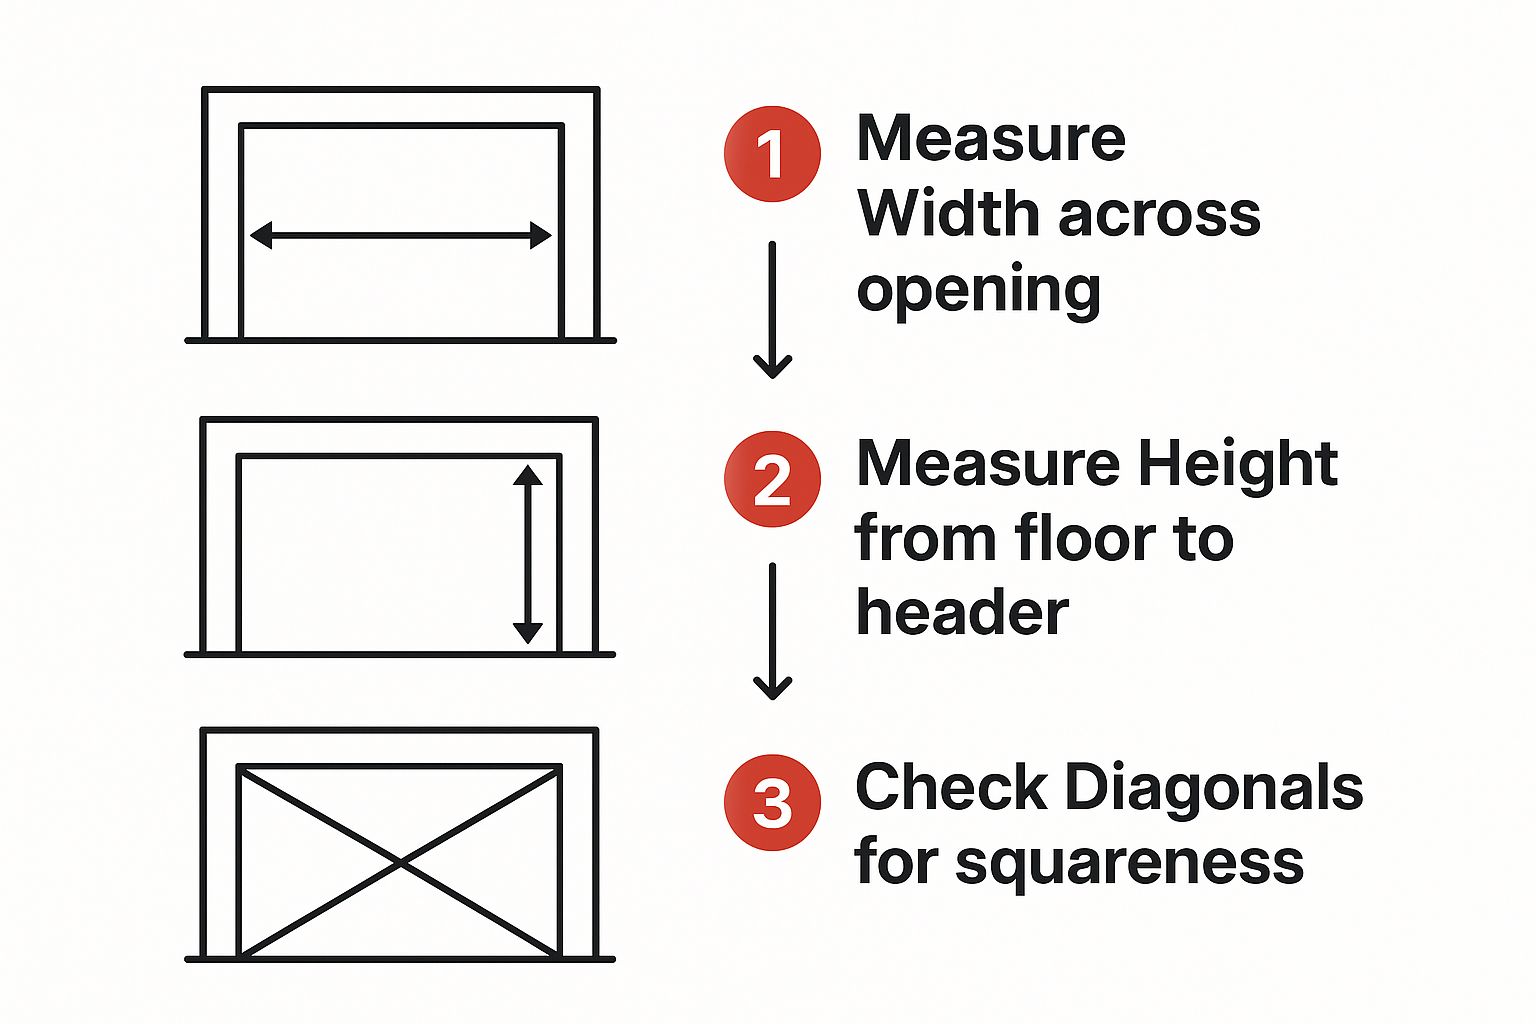
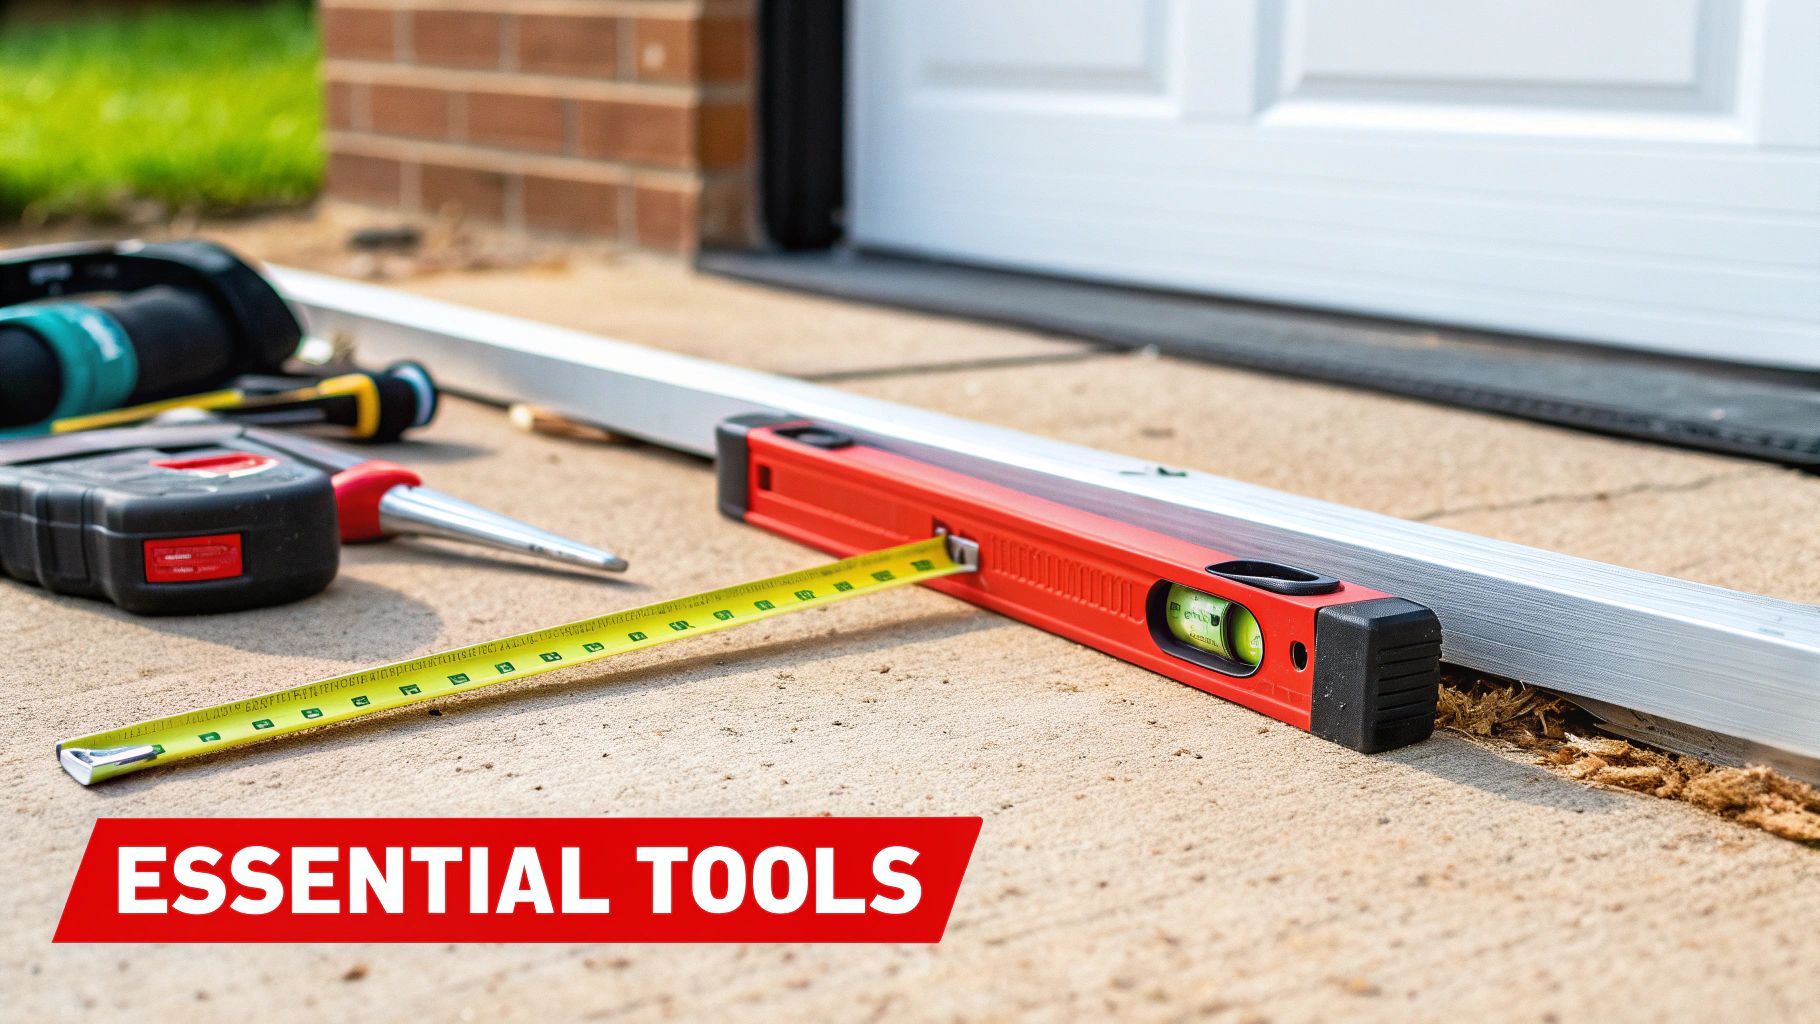
First, measure the finished opening itself, not the old door panel. Use a tape measure to check the width at three points—top, middle, and bottom. Then, do the same for the height, measuring from the finished floor up to the header on the left, middle, and right.
We take three measurements because garage openings are rarely perfectly square. This accounts for any variations in the framing.
Pro Tip: When you have your three measurements for width and three for height, always use the largest of the three for each dimension. This ensures the door will fit the widest and tallest points of the opening.
This visual shows exactly where to measure the opening before moving on to the clearance checks.
Headroom, Side Room, and Backroom: The Clearance Trio
These three often-overlooked dimensions are just as critical as the opening itself. Think of them as the operational space for the door system.
-
Headroom is the clear, unobstructed space between the top of the door opening and the ceiling (or the lowest-hanging object, like a pipe or ductwork). Standard torsion spring systems typically require 12 to 15 inches of headroom.
-
Side Room refers to the space from the side of the opening to the nearest wall. You need a minimum of 3.75 inches on each side for standard vertical tracks to be installed correctly.
-
Backroom is the depth of your garage, measured from the door opening straight back. You'll need enough space for the door to travel along its horizontal tracks, which is usually the door height plus about 18 inches.
To help you keep track of these numbers on-site, we've put together a quick reference checklist.
Quick Reference Measurement Checklist
Use this table as a field guide to capture the five essential measurements for both residential and commercial garage door installations.
| Measurement Area | How to Measure | Typical Residential Requirement | Typical Commercial Requirement |
|---|---|---|---|
| Width | Measure the finished opening at the top, middle, and bottom. Use the largest number. | Varies by opening | Varies by opening |
| Height | Measure the opening from floor to header on the left, middle, and right. Use largest. | Varies by opening | Varies by opening |
| Headroom | Measure from the top of the opening to the lowest obstruction above. | 12-15 inches | Varies, often 16 inches+ |
| Side Room | Measure from the side of the opening to the nearest wall on both sides. | 3.75 inches (minimum) | 4.5-6 inches+ (minimum) |
| Backroom | Measure from the opening into the garage. | Door Height + 18 inches | Door Height + 24 inches+ |
Taking the time to gather these five measurements accurately is the single most important step in ensuring a successful installation.
Proper measurement is more critical than ever, especially as the demand for modern sectional doors grows. The global garage door market, valued at USD 4.3 billion in 2021, is projected to climb to USD 6.9 billion by 2032. Getting these five dimensions right is your ticket to a smooth, professional installation in a rapidly expanding industry.
Measuring For Commercial and High-Performance Doors
When you're measuring for a commercial garage door, it's a completely different discipline than a residential project. You're not just filling an opening; you are specifying a critical piece of equipment that must support daily operations, safety, and efficiency. The stakes are higher, especially for businesses in Texas and Oklahoma where doors must withstand heavy use and unpredictable weather.
Commercial jobs demand a much deeper analysis than simply measuring width and height. An auto shop in Shawnee, for example, will likely require a high-lift track system to accommodate vehicle lifts. That single requirement drastically changes the headroom calculation. Likewise, a loading dock in Dallas must meet specific OSHA clearances—get those measurements wrong, and you could face serious workplace safety violations and fines.
Beyond Standard Dimensions
This is where experience is critical. The focus shifts from simply covering the opening to seamlessly integrating a heavy-duty system into a dynamic work environment.
Several factors fundamentally change how you measure and what you need to look for:
- Door Cycle Requirements: A high-traffic warehouse door might operate over 100 times a day. This dictates the need for high-cycle springs, heavy-gauge steel, and specific track clearances to ensure longevity.
- Specialized Hardware: Does the job require a pass-through man door? Vision lites for visibility? Specialized locks for security? Every add-on impacts the framing, clearances, and final measurements.
- Environmental Factors: A door facing the Texas Gulf Coast needs hurricane-rated construction and extra wind-load reinforcement, which affects jamb depth and track mounting. These doors must meet specific Texas Department of Insurance (TDI) windstorm standards.
Measuring a commercial door is a strategic process. It’s about ensuring the final installation enhances workflow, meets all regulatory codes, and delivers a real return on investment through durability and performance.
It's no surprise that demand for these installations is rising. The commercial roll-up door market is growing at a 5.4% CAGR, fueled by industrial expansion and tougher building codes. These new standards, particularly around hurricane resistance, make precise dimensional checks more critical than ever.
As you plan an installation for a new or renovated commercial space, consulting a professional guide to tenant finish projects can help situate the door within the larger project scope. Since these doors are a major investment, understanding the factors that drive the final price is a smart move. You can learn more about what to expect from the commercial door installation cost.
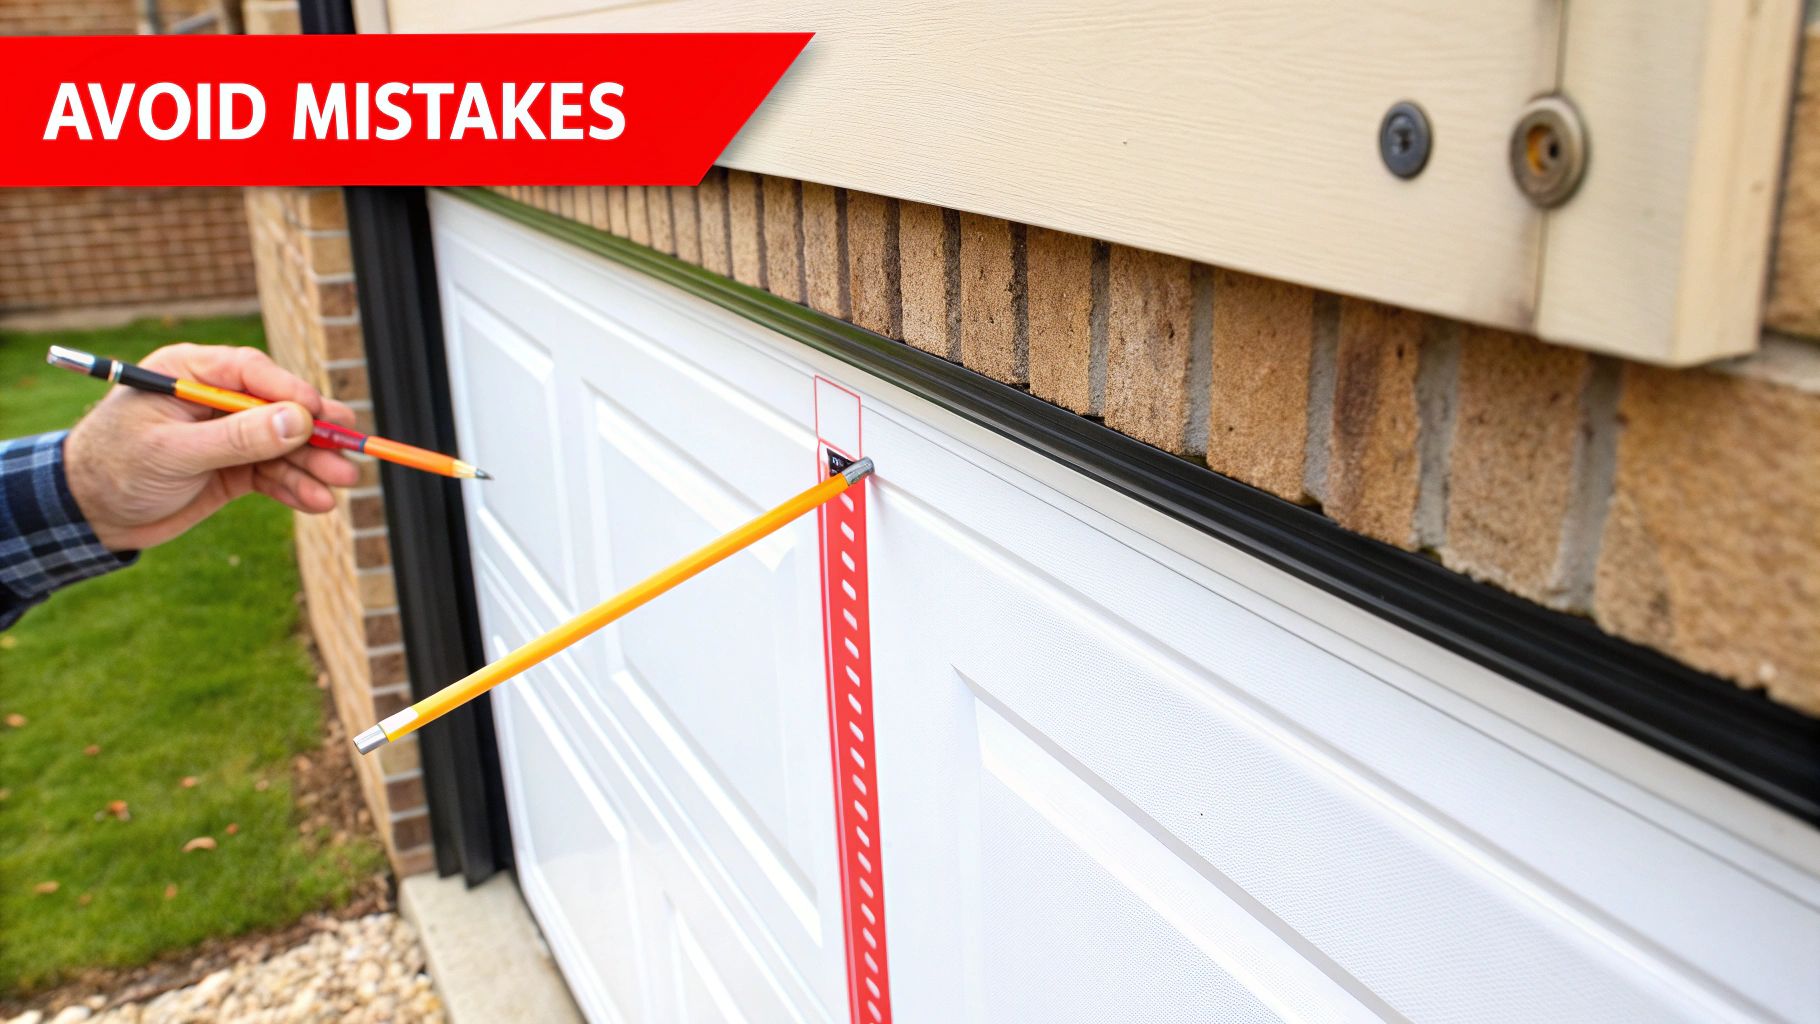
Common Measurement Mistakes to Avoid
After years in the field across Texas and Oklahoma, we’ve seen how even the smallest measurement error can lead to significant headaches. Use this as a pre-flight checklist—a collection of real-world lessons to help you steer clear of the most common and costly pitfalls when measuring for a new garage door.
The number one mistake we see is overlooking obstructions. It's easy to get laser-focused on the opening itself and miss what's happening around it. People frequently forget to account for pipes, support beams, electrical boxes, or ductwork that encroach on the required headroom or backroom space.
Forgetting the Details
Another frequent hiccup is measuring from an unlevel floor. Many garage floors, especially in older buildings, have a slight slope for drainage. If you only measure the height from the center, you could end up with a significant gap on one side of the door.
The fix is simple: always measure the height on the far left and far right sides of the opening. Providing both numbers to your installer allows them to account for the slope, often by ordering a larger, custom-fitted bottom seal to close the gap perfectly.
A professional installer doesn't just measure the opening; they survey the entire operational space. They’re trained to spot potential conflicts with the door’s travel path, from ceiling-mounted storage racks to the placement of existing electrical outlets.
Ignoring these details can create serious operational issues. For instance, an overlooked pipe in the backroom could prevent the door from opening fully, while a junction box in the wrong spot could interfere with your safety sensors. Proper sensor placement is mandated by UL 325 safety standards. You can learn more about how critical proper placement is in our guide on overhead garage door sensors.
Here are a few more classic blunders to keep on your radar:
- Measuring the Old Door: Never just measure the old door panel itself. It may have warped over time or may not have been installed correctly in the first place. Always measure the finished structural opening.
- Ignoring Side Room: Forgetting to confirm you have the minimum 3.75 inches of side room is a common slip-up. Without that space, the vertical tracks cannot be installed correctly, leading to poor performance and excessive wear.
- Assuming Standard Sizes: While common sizes exist, countless openings are custom. Assuming your garage is a "standard" size without a tape measure is a recipe for a door that won't fit.
When to Trust a Professional for Measurements
While grabbing a tape measure for a standard residential door is manageable for many, a DIY approach can create more problems than it solves. A professional technician brings more than just a tape measure; they bring expertise in assessing the entire structure, spotting potential installation hurdles, and, most importantly, they take full responsibility for the accuracy of their work.
Professional oversight becomes absolutely critical in complex situations. Consider any opening that isn't a perfect rectangle—like a custom arched or angled header. These jobs require an expert's eye to ensure the door and its tracks are fabricated to fit perfectly. The same applies to garages with tricky obstructions or extremely tight headroom, where a DIY measurement might not account for the specialized solutions required.
When Professional Measurement Is a Smart Investment
For our commercial clients in Texas and Oklahoma, calling in a professional isn't just a good idea; it's standard procedure. Commercial jobs are entirely different, with complexities ranging from meeting strict OSHA and NFPA 80 fire-rating codes to engineering high-lift or vertical-lift track systems that provide clearance for business operations. The liability associated with incorrect measurements is too high to risk.
Ultimately, a professional assessment is your best bet for preventing expensive reordering mistakes and frustrating delays. Here are clear signs that it's time to call an expert:
- Low Headroom: If your garage has less than 12 inches of headroom, you will likely need a specialized track system that a pro must specify correctly.
- Custom Openings: Any opening that isn't a standard rectangle—including arches or sloped headers—demands precise, professional templating.
- Structural Concerns: If the framing looks old, uneven, or questionable, an expert can determine what prep work is needed before a door can be installed safely.
- Commercial Compliance: Every door for a commercial or industrial building must be measured by a professional to guarantee it meets all safety and building codes.
Think of a professional measurement as a form of insurance. It's the best way to guarantee the door is ordered correctly the first time, ensuring a perfect, secure, and fully operational fit from day one.
Investing in a professional measurement is a smart move that pays for itself by eliminating costly errors. When you’re ready for guaranteed accuracy, we can help.
Common Questions About Measuring for a Garage Door
We talk to homeowners and business owners across Texas and Oklahoma every day, and many of the same questions about measuring come up. It's the most important first step, so it's understandable that people want to be absolutely sure they're doing it right. Here are some of the most common questions we're asked.
What's the Minimum Headroom I Need for an Opener?
For a standard setup with a typical trolley-style opener, you generally need 12 to 15 inches of clear headroom. This is the space above the door opening, and it’s critical for fitting the torsion springs and the horizontal track system.
If you don't have that much room, don't worry. Low-headroom track systems are designed specifically for these situations and can sometimes work with as little as 4-6 inches of clearance. However, getting an exact measurement is the only way to know what kind of system your garage can safely accommodate.
Headroom isn't just dead space—it's the engine room for your entire garage door system. A precise measurement here is the difference between a smooth installation and a major headache.
My Garage Floor Slopes. How Do I Measure for That?
A sloped or uneven floor is a common issue, particularly in older garages designed for water drainage. You cannot ignore it. When you measure the height of your opening, do it in two places: once on the far left and again on the far right, from the header down to the concrete.
Provide both numbers to your installer. They will likely order the door to fit the taller of the two measurements. To close the resulting gap on the shorter side, they'll use a larger, often custom-fitted, bottom weather seal. This creates a tight seal across the entire width, keeping weather, water, and pests out.
Do I Need to Measure Differently for an Insulated Door?
The actual opening measurements—width and height—do not change. An 8-foot wide opening is still an 8-foot wide opening, regardless of the door you install. The real difference with insulated doors lies in the clearance and hardware required to support them.
Because insulated doors are thicker and heavier, the installation might require:
- More backroom to allow the deeper panels to retract fully without obstruction.
- A heavier-duty track system to handle the additional weight without bending or failing.
- A properly calibrated spring system to counterbalance the heavier load for safe and balanced operation.
It is crucial to inform your supplier that you're considering an insulated model from the start. This allows them to specify all other components correctly for the door's weight and thickness. To learn more about these components, our guide to garage door repair is a great resource.
Getting the measurements right from the beginning lays the groundwork for a perfect installation. Whether you're boosting your home's curb appeal or equipping a commercial warehouse, Overhead Door Co. of Tex-Oma has the expertise to ensure a perfect fit, every single time.
Schedule Your Professional Consultation and Measurement Today
