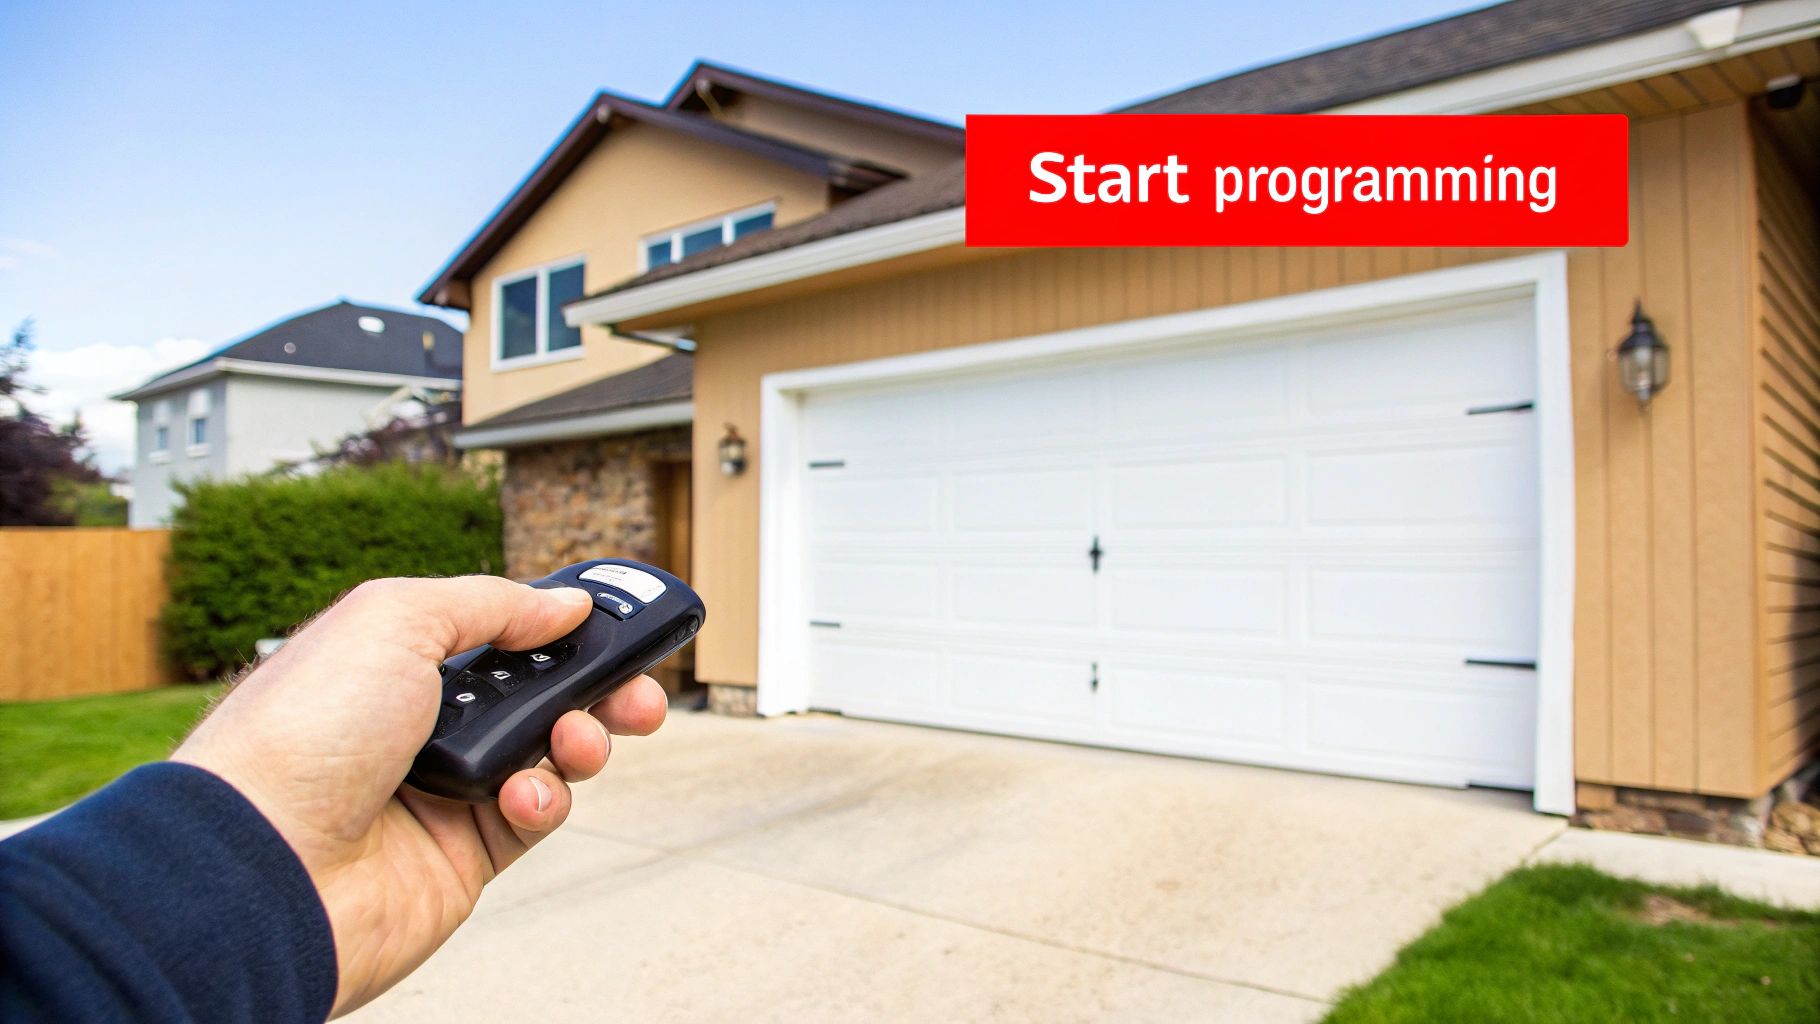
Programming an Overhead Door remote is often a straightforward task. For most modern openers, the process involves pressing a "Learn" or "Program" button on the motor unit, followed by pressing the desired button on your remote within about 30 seconds. This simple digital handshake is standard for the vast majority of residential and commercial systems we service across Texas and Oklahoma.
However, before you grab a ladder, a crucial first step is to identify your opener's technology. This preparation can prevent significant frustration and ensure a successful outcome on the first try.
Identifying Your Opener's Programming Method
Garage door openers are not a one-size-fits-all technology. They generally fall into two categories: older "fixed-code" systems using DIP switches and modern "rolling-code" systems that rely on a 'Learn' button. The programming methods for these two types are entirely different.
One requires manually matching a physical code pattern, similar to a combination lock. The other is a simple, secure digital pairing. Getting this right from the start is the key to a quick fix.
Remote and opener issues are incredibly common. The global overhead door market is a massive industry, projected to reach USD 5 billion by 2025. Based on our field data in Texas and Oklahoma, we estimate that 30-40% of our service calls are related to remote programming or sync issues—a testament to how frequently homeowners and businesses face this problem. You can explore more market insights on the growth of overhead door technology for more details.
Programming Methods at a Glance: Fixed Code vs. Rolling Code
A quick visual inspection of your remote or opener motor is usually enough to determine your system type. This table highlights the key differences to help you identify your setup.
| Feature | Fixed Code (DIP Switches) | Rolling Code (Learn Button) |
|---|---|---|
| Primary Identifier | A block of small, physical on/off switches inside the remote. | A single push-button, often square, on the motor unit. |
| Typical Age | Common in systems manufactured before the mid-1990s. | Standard in nearly all openers made after the mid-1990s. |
| Security Level | Lower. The code is static and can potentially be copied. | High. The code changes with every use, preventing replay attacks. |
| Programming Action | Manually matching the switch pattern on the remote and opener. | Pressing the opener's button, then the remote's button to sync. |
Once you've identified your system type, you can proceed with the correct instructions. If you've followed the right steps and the remote still fails to program, an underlying issue like a faulty logic board or a weak antenna could be the cause. In these cases, a professional residential garage door repair service is your best bet for an accurate diagnosis.
Before you begin programming your Overhead Door remote, it's essential to know your specific model. This first step is critical, as programming procedures vary significantly between different units.
Start by examining the opener's motor unit—the large housing on your garage ceiling. Look for a manufacturer's sticker on the side panels or near the light cover, which will list the model number and other key information. Taking a photo with your phone or writing it down is a practical first step.
Residential vs. Commercial Openers
Distinguishing between residential and commercial units is important. Homeowners in Texas and Oklahoma will likely have a popular residential model like the Overhead Door Odyssey® or Destiny® series, known for their quiet operation and reliability.
Conversely, commercial properties, such as a warehouse in Lawton or a loading dock in Denison, use heavy-duty operators engineered for high-cycle use. These commercial units often feature more complex control boards. For a deeper dive into the differences, review our detailed garage door opener comparison.
Pro Tip: Knowing your model is about more than convenience—it's a matter of security and compliance. Incorrectly programmed remotes can be a security liability, and older models may lack the modern security features required to protect your property.
Identifying your model also clarifies the technology you're working with. Programming methods can range from legacy DIP switches to modern rolling codes or smart app controls. With the model number in hand, you're prepared for a successful setup.
Programming Modern Rolling Code Remotes
Modern Overhead Door openers utilize rolling code technology, a significant advancement in security. Each time you press your remote, it transmits a new, encrypted signal to the opener. This dynamic process makes it nearly impossible for unauthorized individuals to intercept and replicate your code, providing robust security for homes and businesses across Texas and Oklahoma.
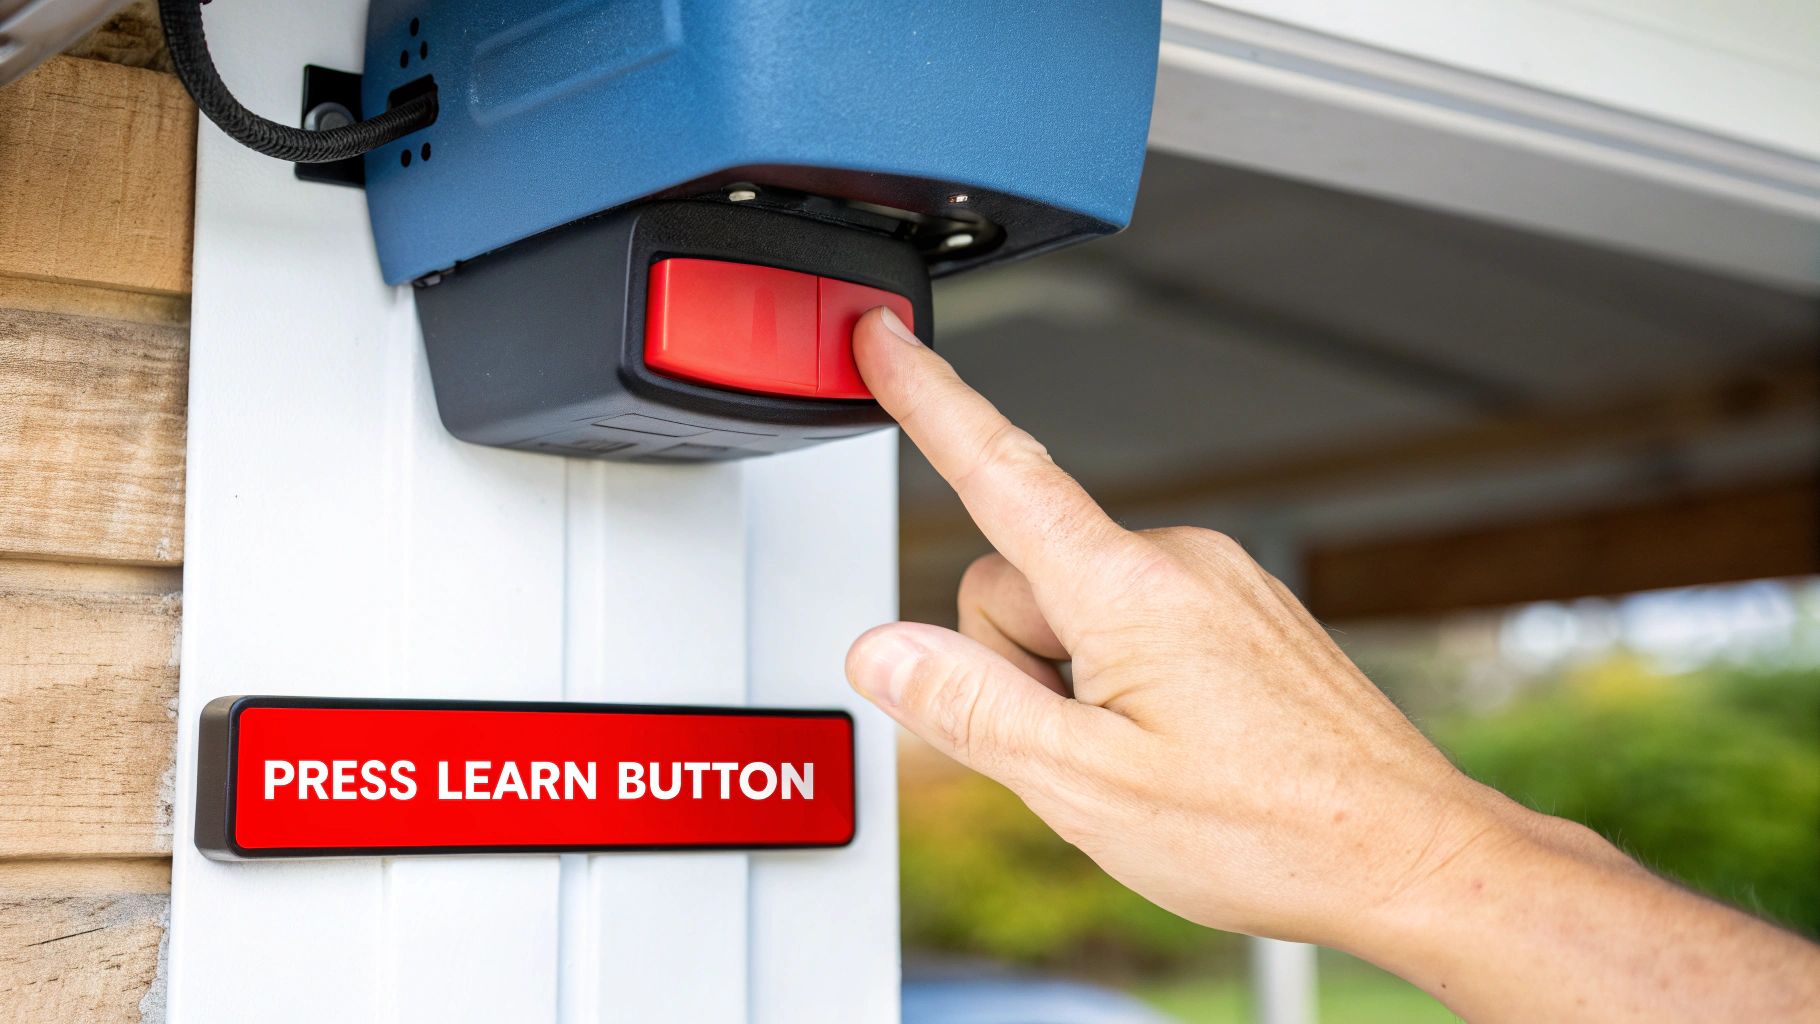
The programming process begins with a small but vital button on your garage door opener's motor unit. You will likely need a ladder to access it. Locate the button labeled “Learn” (sometimes "Program" or "PRGM") to initiate the pairing process with your new remote.
Finding and Using the Learn Button

As this graphic illustrates, the core programming sequence is a simple two-step action: press the learn button on the motor, then press the desired button on your remote. A successful pairing is typically confirmed when the opener’s main light bulb or an LED indicator flashes.
The Learn Button Color Is a Clue
The color of the 'Learn' button is a functional detail, not a cosmetic one. It serves as a quick identifier for your opener's specific technology, including its radio frequency and manufacturing era. This information is invaluable for verifying remote compatibility before you start.
This table decodes what those colors signify, saving you significant guesswork.
Overhead Door Learn Button Color Guide
| Learn Button Color | Technology/Frequency | Typical Programming Action |
|---|---|---|
| Green | Older Rolling Code (390 MHz) | Press and release to activate learning mode. |
| Red / Orange | Security+ (315 MHz) | Press and release; opener light will signal readiness. |
| Purple / Brown | Security+ (315 MHz) | Press and release; a more common variant. |
| Yellow | Security+ 2.0 / MyQ | Press and release; may have a round shape. |
This detail is a game-changer for troubleshooting. For example, a remote from a green-button system will never sync with an opener featuring a yellow learn button. Knowing the color helps professionals providing commercial door repair services quickly diagnose issues, which are often simple compatibility mismatches.
What About Syncing a Car's Built-In Remote?
Many vehicles come equipped with a built-in HomeLink® remote system. The programming process is similar to a standard remote but includes an initial step.
First, you must "teach" the car's system. Hold an existing, functional remote close to your vehicle's HomeLink buttons. Press and hold both the remote button and the HomeLink button you wish to program simultaneously. Continue holding until your car's indicator light transitions from a slow blink to a rapid flash.
Next, finalize the connection. Press the 'Learn' button on the opener motor, then quickly return to your vehicle and press the HomeLink button you just trained. If you encounter difficulties, calling an opener repair specialist can resolve the issue efficiently.
Dealing With Older DIP Switch Remotes
While most new garage door openers use rolling code technology, many durable older units remain in service at homes and businesses across Texas and Oklahoma. These legacy systems often use DIP switch technology—a manual method for setting the security code.
Instead of a "smart" button, programming involves matching a physical switch pattern.
Inside both the remote and the main motor unit, you will find a small block of tiny switches, typically numbering between 8 and 12. Each switch can be set to "on," "off," or sometimes a middle position. The programming principle is simple: the switch pattern in your remote must exactly mirror the pattern on the opener.
Getting to the Switches and Making the Match
First, open the battery compartment of your remote; the DIP switches are usually located there. The second set is inside the motor unit.
Safety First—No Exceptions: Before opening the main motor unit, you must disconnect the power at the circuit breaker. This is not a suggestion but a critical safety measure to prevent severe electrical shock, in accordance with UL 325 safety standards.
With the power off, remove the light cover or access panel on the motor to expose the DIP switches. Use a small screwdriver or pen tip to adjust the switches on your remote to match the sequence on the opener. If switch #1 is up, #2 is down, and #3 is up on the opener, your remote must be set identically.
A key security tip is to create a unique combination; never leave the switches on the factory default setting. If you have trouble accessing the motor or the switches appear brittle, our commercial door repair experts can handle it safely for you.
When an Overhead Door remote fails to program, it’s easy to assume the remote is defective. However, after years of troubleshooting these systems across Texas and Oklahoma, we find the root cause is often external: radio frequency (RF) interference.
A common and surprising culprit is new LED light bulbs. Many non-certified or off-brand bulbs emit significant RF noise that can jam the signal from your remote, an issue recognized by the Federal Communications Commission (FCC).
Pinpointing the Real Problem
Before assuming a programming failure, perform these quick diagnostic checks. These practical steps can often resolve the issue without a service call.
-
Remote Only Works Close to the Opener: This is a classic sign of a weak signal or interference. The first step is always to replace the battery; a fresh battery resolves over 50% of range issues we encounter. If that doesn’t work, inspect the opener's antenna wire. Ensure it is hanging straight down, undamaged, and not touching any metal.
-
Opener Light Flashes but the Door Doesn't Move: If you press the remote and the motor unit's main light blinks ten times without door movement, this is a specific error code indicating that the safety sensors are blocked or misaligned. This is a safety feature compliant with UL 325 standards. Our guide shows you exactly how to test garage door sensors and realign them correctly.
By addressing these common variables first—interference, power, and sensor alignment—you can often solve what appears to be a programming failure in minutes. These factors account for the vast majority of "my remote won't program" service calls.
Running through these quick checks first can save you significant time and frustration.
Common Questions We Hear About Remote Programming
Based on our experience helping homeowners and businesses across Texas and Oklahoma, here are answers to the most common questions that arise during remote programming.
Why Did My Remote Suddenly Stop Working?
A remote that abruptly stops working is almost always due to a dead battery or new radio frequency (RF) interference.
Always start with the simplest solution: replace the battery. This single action resolves the problem more than 50% of the time. If a new battery doesn't help, consider any recent changes in or around your garage. Did you recently install new LED lights? Certain LED bulbs can emit a signal that interferes with your opener's frequency.
How Can I Erase My Opener’s Memory?
Erasing your opener's memory is a critical security measure if a remote is lost or stolen. To do this, press and hold the square "Learn" button on the motor unit for approximately 6 to 10 seconds, until the adjacent indicator light goes out.
Important: This action clears all paired devices from the opener's memory. You will need to reprogram every remote and keypad you intend to use. We cover the keypad process in our guide to Overhead Door keypad programming.
Will a Universal Remote Work with My Opener?
Yes, many universal remotes are compatible with Overhead Door openers, but compatibility is key.
You must verify that the universal remote supports your specific opener technology—whether it's older DIP switches or modern rolling code—and operates on the correct frequency. Always consult the remote's compatibility chart before purchasing. While universal remotes offer convenience, an authentic Overhead Door remote consistently provides the most reliable performance.
If you're still experiencing issues or dealing with an opener problem that programming can't resolve, don't hesitate to contact the professionals. The team at Overhead Door Co. of Tex-Oma is ready to provide expert service you can count on. https://ohdctexoma.com
