When a single garage door panel gets damaged, it can seem like a major problem. However, this is often a focused repair involving only the affected section. For a homeowner or business owner with the right tools and a solid understanding of the mechanics, this is a manageable project. This targeted approach is ideal for cosmetic damage or a clean break that hasn't compromised the door's overall structural integrity.
Should You Replace a Panel or the Entire Door
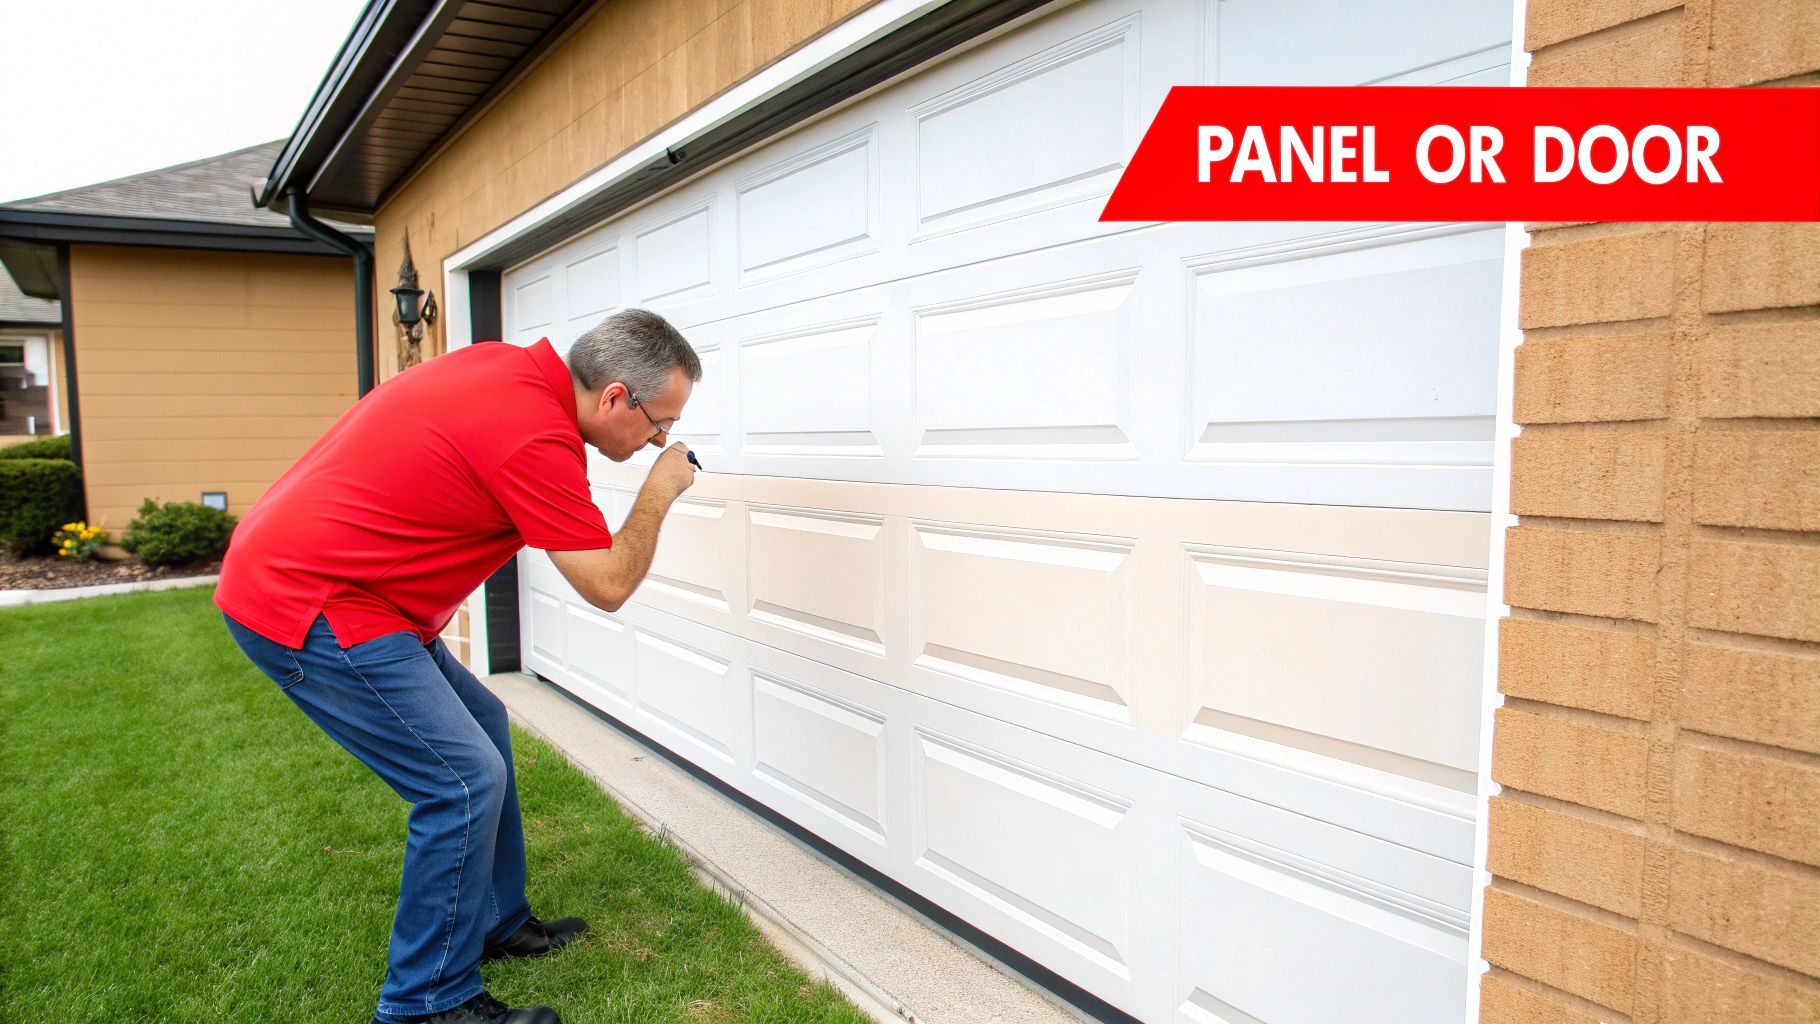
A dented or cracked garage door panel isn't just an aesthetic issue—it can compromise your property's security, reduce energy efficiency, and negatively impact curb appeal. For homeowners and businesses across Texas and Oklahoma, the crucial question is whether to perform a targeted panel replacement or a complete door overhaul. The correct decision depends on a thorough and honest assessment of the damage.
Assessing the Damage
Before making a decision, you must get a clear picture of the problem. A single panel replacement is almost always the most cost-effective solution for isolated issues.
A panel swap is the recommended course of action if you're dealing with:
- Minor cosmetic damage, such as a small dent from a stray basketball or superficial scratches.
- A single cracked panel from a low-speed impact, where adjacent panels remain structurally sound.
- Localized rust or corrosion that has not spread to other sections of the door.
Conversely, some situations clearly indicate that a full replacement is the wiser long-term investment. If you have multiple damaged panels, significant structural warping, or a door that has come off its tracks from a major impact, replacing one panel is an insufficient fix for a systemic problem. For instance, a sagging door often indicates worn-out tension springs, and a new panel will not resolve that underlying mechanical failure.
A critical factor is availability. If your door is older or the model has been discontinued, finding an exact match for your panel can be a significant challenge. In some cases, it's impossible, making a full door upgrade your only viable option.
Cost vs. Long-Term Value
The choice between repair and replacement often comes down to balancing immediate costs against future reliability. A single panel replacement is certainly cheaper upfront. However, if your door is nearing the end of its typical 15-20 year lifespan, investing more money into repairs may not be prudent. An older, failing door will likely require more frequent service calls, quickly eroding any initial savings.
We often assist clients who attempt to patch up an old door, only to contact us a year later for another issue. To clarify the decision-making process, here’s a breakdown of common scenarios we encounter.
Panel Repair vs Full Replacement: A Practical Comparison
| Damage Scenario | Recommended Action | Average Cost (TX/OK) | Long-Term Value |
|---|---|---|---|
| Single dented or cracked panel (cosmetic) | Panel Replacement | $250 – $800 | High: Cost-effective solution for an isolated incident. |
| Multiple damaged or warped panels | Full Replacement | $800 – $3,500+ | High: Addresses widespread structural failure and restores integrity. |
| Obsolete model, no matching panels available | Full Replacement | $800 – $3,500+ | High: Modernizes the door system and ensures future part availability. |
| Door is over 15 years old with recurring issues | Full Replacement | $800 – $3,500+ | High: Prevents future failures and improves energy efficiency. |
This table provides a general estimate, but every situation is unique. The best course of action is to obtain a professional assessment.
The demand for reliable garage door services is growing. The global garage door repair services market is projected to reach USD 5.8 billion by 2033, a statistic that underscores how much property owners value secure and functional systems.
Ultimately, if the damage is severe or your door is outdated, a complete overhaul is the most sensible path. It provides enhanced security, improved insulation, and a modern aesthetic that can increase your property's value. For those weighing their options, understanding the scope of a full garage door replacement in Lawton can provide essential clarity on the process and costs.
Sourcing the Right Panels and Tools for the Job
Before beginning a garage door panel replacement, two elements are essential: the exact replacement panel and the proper tools to complete the job safely and efficiently.
Obtaining the right panel involves more than just matching the color. The material, thickness, and the design of the panel joints are all critical for maintaining the door's structural integrity and weather seal. An incorrect panel can lead to future problems and an aesthetically displeasing repair.
Similarly, assembling the right tools before you begin is the difference between a smooth project and a frustrating, potentially dangerous ordeal. While a professional workshop isn't necessary, several key items are non-negotiable for safety and efficiency.
Identifying Your Existing Garage Door Panel
First, you must identify the specifications of your current door. Look along the inside edge of your garage door panels for a manufacturer's label or a small metal plate.
This label provides the critical information needed for a perfect match:
- Manufacturer: The company that produced the door (e.g., Clopay, Wayne Dalton, Amarr).
- Model Number: This identifies the specific design and construction of your door.
- Serial Number: A unique identifier for your specific door.
- Color Code: Ensures the new panel's finish will blend seamlessly.
If you cannot find a label, take several clear, well-lit photographs of the door: one from the exterior, one from the interior, and a close-up of the joints between panels. A professional supplier can typically identify the required panel from these images. Remember, a panel that is "close enough" can create gaps, leading to drafts and security vulnerabilities.
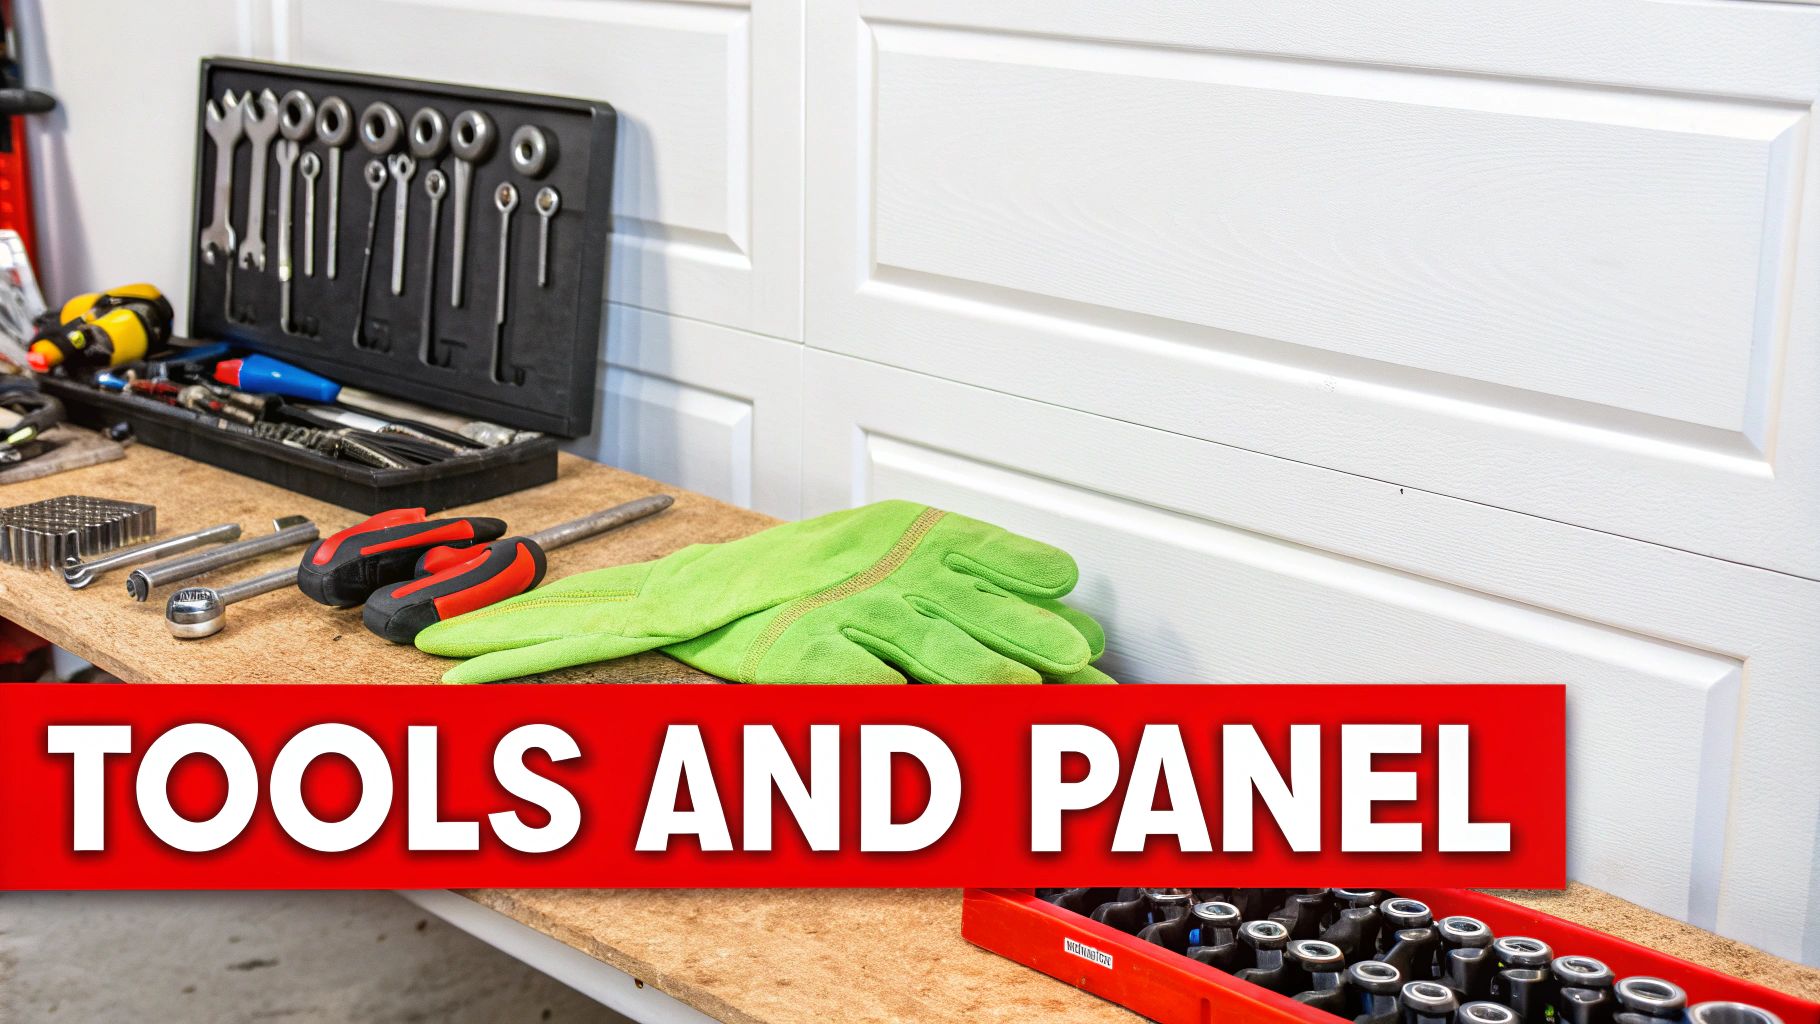
Gathering Your Essential Tools and Safety Gear
Once you have identified your panel, it's time to assemble your toolkit. Having all necessary items on hand from the start will prevent risky improvisations later.
Here is a checklist of what you will need:
- Socket/Wrench Set: Essential for unfastening hinge bolts.
- Locking Pliers (Vise-Grips): Absolutely critical for securing the door rollers in the track.
- Heavy-Duty Gloves: Protects your hands from sharp metal edges and pinch points.
- Safety Glasses: A mandatory piece of personal protective equipment (PPE).
- Sturdy Ladder: For safe access to higher panels and hardware.
Industry Insight: Do not attempt this job without locking pliers. These tools are what prevent the door from shifting or falling once a panel's hinges are disconnected. This is a non-negotiable safety measure.
The need for replacement parts is more common than you might think. The global market for garage door replacement parts was valued at USD 3.2 billion in 2023, demonstrating how many property owners are tackling these types of repairs.
If you find that your panel model has been discontinued, a reputable supplier can often locate a compatible alternative. This is also an opportune time to assess other components. Exploring available garage door accessories can help you identify worn hinges, rollers, or other hardware that should be replaced concurrently.
Safety First: Prepping for a Garage Door Panel Replacement
Before you pick up a single tool, we must address safety. This is the most critical part of the entire process. A standard residential garage door can weigh 200 to 400 pounds, and the torsion springs that counterbalance this weight are under extreme tension. A mistake here can lead to serious injury or catastrophic property damage.
Our first steps on any repair job are always focused on neutralizing the two biggest risks: the electric opener and the powerful springs. This process is similar to the lockout/tagout (LOTO) procedures required by OSHA, which mandate that all energy sources must be controlled before work begins.
This infographic outlines the essential safety sequence you must follow.

Disconnecting power, releasing spring tension, and physically securing the door are non-negotiable first steps. Mastering these creates a safe working environment.
Cut the Power and Clamp the Door
First, completely de-energize the garage door opener. This means physically unplugging the motor unit from its ceiling outlet. This action eliminates any possibility of the door being activated accidentally by a remote or wall-mounted button while you are working.
With the power off, you must ensure the door cannot move. Close the garage door completely. Then, clamp a C-clamp or a pair of locking pliers onto the vertical track directly above one of the bottom panel's rollers. This creates a physical stop, preventing the door from moving unexpectedly.
How to Safely Unwind the Torsion Springs
This is, without question, the most dangerous step of the process. The torsion springs, located on a metal shaft above the garage door, are what perform the heavy lifting. They are under immense tension and must be handled with the correct tools and extreme caution.
You will need a pair of proper winding bars for this task—not screwdrivers, tire irons, or rebar. Winding bars are specifically engineered to fit securely into the adjustment holes of the winding cone.
Here is the process for safely releasing the tension:
- Insert one winding bar securely into a hole on the winding cone, ensuring it is fully seated.
- Establish a firm grip; you will immediately feel the spring's torque. While holding that bar steady, use your other hand to loosen the two set screws on the cone.
- Once the screws are loose, the spring's full force will be on the winding bar. Insert your second winding bar into the next available hole above the first.
- Now, you can begin to "walk" the spring down. Carefully remove the first bar and slowly lower the second bar by a quarter turn. Repeat this leapfrogging process—moving from hole to hole—until the spring is completely slack and all tension is released.
The potential energy stored in these springs is significant. Improper tools can be ejected with violent force. If you feel uncertain at any point or lack the correct winding bars, stop immediately. There is no room for error in this step. It is far wiser to call for professional garage door repair services than to risk serious injury.
A Practical Guide to Replacing the Damaged Panel
With all safety measures in place, you can now begin the physical replacement. This task requires a methodical approach, not brute force. The objective is to reintegrate the new panel so the door functions precisely as it did before, restoring its structural and aesthetic integrity.
Our goal is to carefully exchange only the damaged section without disturbing the alignment of the rest of the door. Let’s walk through the process with the same precision our technicians use in the field.
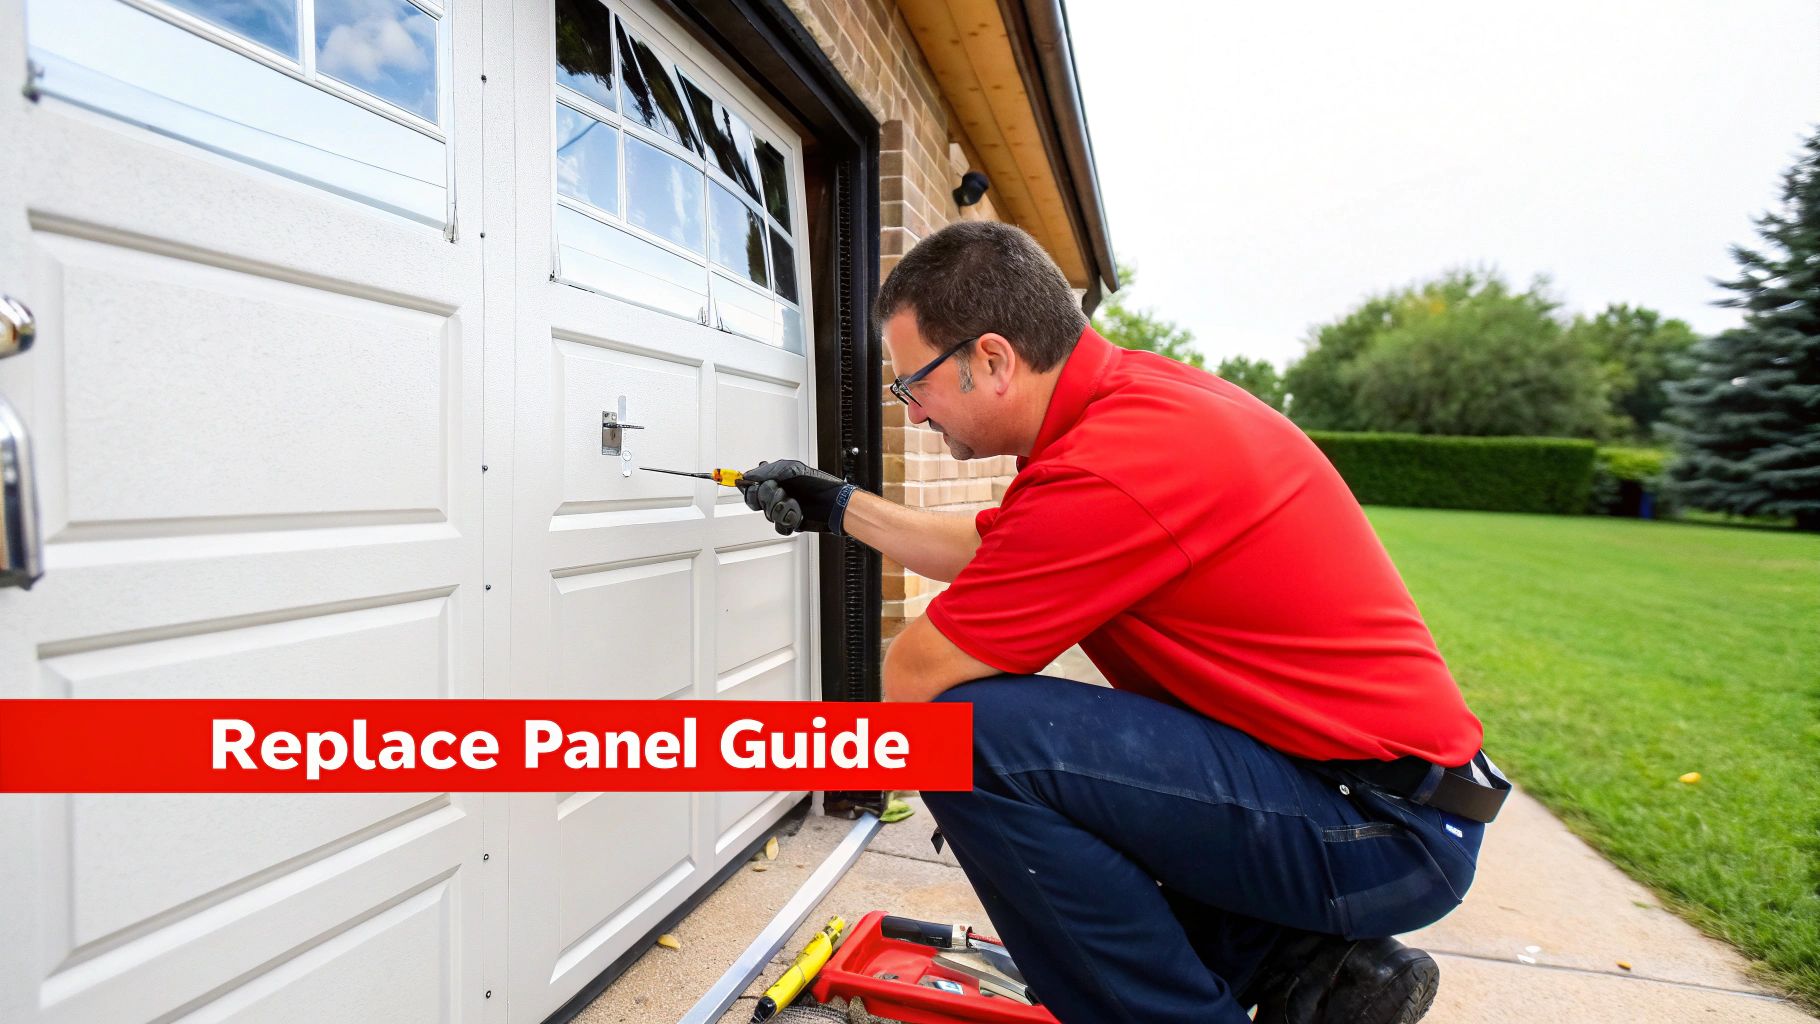
Removing the Damaged Panel
Begin by addressing the hardware attached to the panel. Using your socket set or wrench, unbolt the hinges that connect the damaged panel to the ones above and below it. Use a magnetic tray to keep all nuts and bolts organized and prevent loss.
Pay close attention to any horizontal support struts—metal bars running the length of the panel for reinforcement. These are especially common on the wider doors found across Texas and Oklahoma, as they are designed to prevent bowing under high wind loads. If present, these struts must also be unbolted.
With the hinges removed, the panel is held in place only by the rollers in the side tracks. This step absolutely requires a helper.
- One person should firmly grasp one end of the panel.
- The other person should take the opposite end.
- Working together, gently slide the panel horizontally to guide the rollers out of the tracks.
Pro Tip: If a roller becomes stuck, do not force it. This is a common occurrence, usually caused by the roller catching on a seam in the track. A slight wiggle or a gentle upward lift of the panel is typically enough to free it.
Positioning and Securing the New Panel
Installing the new panel is essentially the reverse of the removal process. With your helper, carefully guide the new panel’s rollers into the tracks on both sides and slide it into position.
You are aiming for a snug, precise fit. The panel's tongue-and-groove edges should interlock perfectly with the adjacent panels, leaving no visible gaps. Proper alignment is critical for an effective weather seal and for smooth, long-term operation.
Once the panel is correctly seated, you can begin reattaching the hardware. Reinstall the hinges, starting with those in the center and working your way toward the edges. Crucially, do not fully tighten the bolts yet. Snug them just enough to hold everything in place, which allows for minor final adjustments.
Final Alignment and Tightening
Step back and conduct a thorough visual inspection. Are the seams between the panels perfectly even across the entire width of the door? Does the new panel sit flush with its neighbors? Now is the time to make any small adjustments needed for a professional, factory-quality finish.
Once you are satisfied with the alignment, go back and tighten all hinge bolts securely. Aim for a firm fit—overtightening can strip the threads or damage the new panel. Finally, reinstall the support strut if your door was equipped with one.
The market data reflects the growing trend of targeted repairs. The garage door replacement parts market was valued at USD 3.2 billion in 2023 and is projected to reach USD 5.5 billion by 2032. This shows that many property owners are choosing to repair specific components rather than replace entire systems. You can explore more data on the parts market to see these industry trends.
With the new panel installed, the next critical phase is to re-tension the springs and thoroughly test the door's operation.
Fine-Tuning and Testing Your Work
With the new panel secured, you are in the final stage. However, the next steps—balancing and testing—are what distinguish a temporary fix from a durable, professional repair. This phase ensures the door operates smoothly, efficiently, and safely.
Putting the Tension Back in the Springs
Now it's time to reverse the process of unwinding the torsion springs. Using your winding bars, methodically add tension back in quarter-turn increments.
A general industry benchmark for most residential doors is one full rotation (four quarter-turns) for every foot of the door's height. Therefore, a standard 7-foot-tall door typically requires 7 full turns, which translates to 28 quarter-turns. Precision is paramount here; consistent, careful winding is key.
The All-Important Balance Test
After re-tensioning the springs and securely tightening the set screws on the winding cone, it's time for the balance test. This diagnostic procedure confirms whether the springs are correctly counterbalancing the door's weight.
Here is the procedure:
- First, remove the C-clamp from the track.
- Next, manually lift the door to its halfway point.
- Carefully release the door.
The door's reaction will tell you everything you need to know. A perfectly balanced door will remain in place, drifting no more than an inch or two. If it falls, the springs are too loose; add another quarter-turn of tension. If it rises on its own, they are too tight; release a quarter-turn. Adjust in small increments until it holds its position.
An unbalanced door places extreme strain on your garage door opener. The motor must work significantly harder to lift a poorly balanced door, leading to premature wear and eventual failure. We often receive service calls for a "broken opener" when the root cause is simply an unbalanced door.
Reconnecting the Opener and Running a Final Check
With the door perfectly balanced, you can reconnect the automatic opener. Re-attach the J-arm to the trolley on the opener rail and plug the motor back into its ceiling outlet.
Step back and use your remote or wall button to run the door through several full open-and-close cycles. Listen for smooth, consistent operation. Any grinding, scraping, or banging noises may indicate a minor alignment issue or a roller that is not perfectly seated.
If you have double-checked all your work and the door still does not operate correctly, it could be a sign of a more complex problem. For persistent issues, professional garage door repair services can provide an expert diagnosis. This is especially important for homes and businesses in Texas and Oklahoma, where extreme weather can impact door performance and longevity.
Common Questions About Garage Door Panel Replacement
When a garage door panel is damaged, property owners typically have several questions. Getting clear, data-driven answers helps you make an informed decision, whether you're dealing with a minor dent on a residential door in Shawnee or significant damage to a commercial overhead door in Abilene.
Here are some answers to the most common questions we encounter.
Can I Just Replace One Panel?
Yes, in most cases, a single panel replacement is a viable and cost-effective solution. If the damage is isolated to one panel, swapping it out is typically the most economical approach.
The primary constraint is availability. We must be able to source an exact match for your door's model, color, and size from the manufacturer. For isolated damage, this is an excellent solution. However, if multiple panels are damaged or the entire door shows signs of structural fatigue, a full replacement is the more prudent long-term investment.
What's a Panel Replacement Going to Cost Me?
In Texas and Oklahoma, the cost to replace a single garage door panel, including professional installation, generally ranges from $250 to over $800. The final price depends on several key factors:
- Door Material: Steel, aluminum, wood, and composite panels are priced differently.
- Insulation: Insulated panels (rated by R-value) cost more than non-insulated panels.
- Brand and Size: Panels from premium brands or for non-standard door sizes are typically at the higher end of the cost spectrum.
The only way to determine the exact cost is to obtain a detailed quote that itemizes the panel, labor, and any necessary system adjustments.
It's easy to focus on the material cost of the panel, but professional installation is a critical value component. The labor cost covers not just the physical swap but also the precise realignment and rebalancing of the entire door system, which is essential for preventing premature opener failure.
Can I Safely Replace a Panel Myself?
For an experienced DIYer with a strong mechanical aptitude, a panel replacement is technically feasible. However, this is a project with significant inherent risks. The primary danger lies with the torsion springs, which are under immense tension.
If a spring is mishandled, it can release its stored energy uncontrollably, potentially causing severe, life-altering injuries. The risk is simply not worth it.
Your safety is the top priority. If you have any hesitation about managing the spring tension or the sheer weight of the door, do not attempt this yourself. A critical part of understanding how to replace garage door panels is recognizing when to engage a certified technician who performs this work safely every day.
When you need professional expertise and results you can count on, trust the team at Overhead Door Co. of Tex-Oma. We deliver safe, reliable, and efficient garage door solutions across the region. Learn more about our services.
