Programming your overhead door remote is often a quick DIY task that enhances security and convenience. For most modern openers, the process is straightforward: press a “Learn” button on the motor unit, then press the button on your remote. This synchronization typically takes less than 60 seconds and restores secure, reliable access to your property in Texas, Oklahoma, or beyond.
Your Pre-Programming Checklist
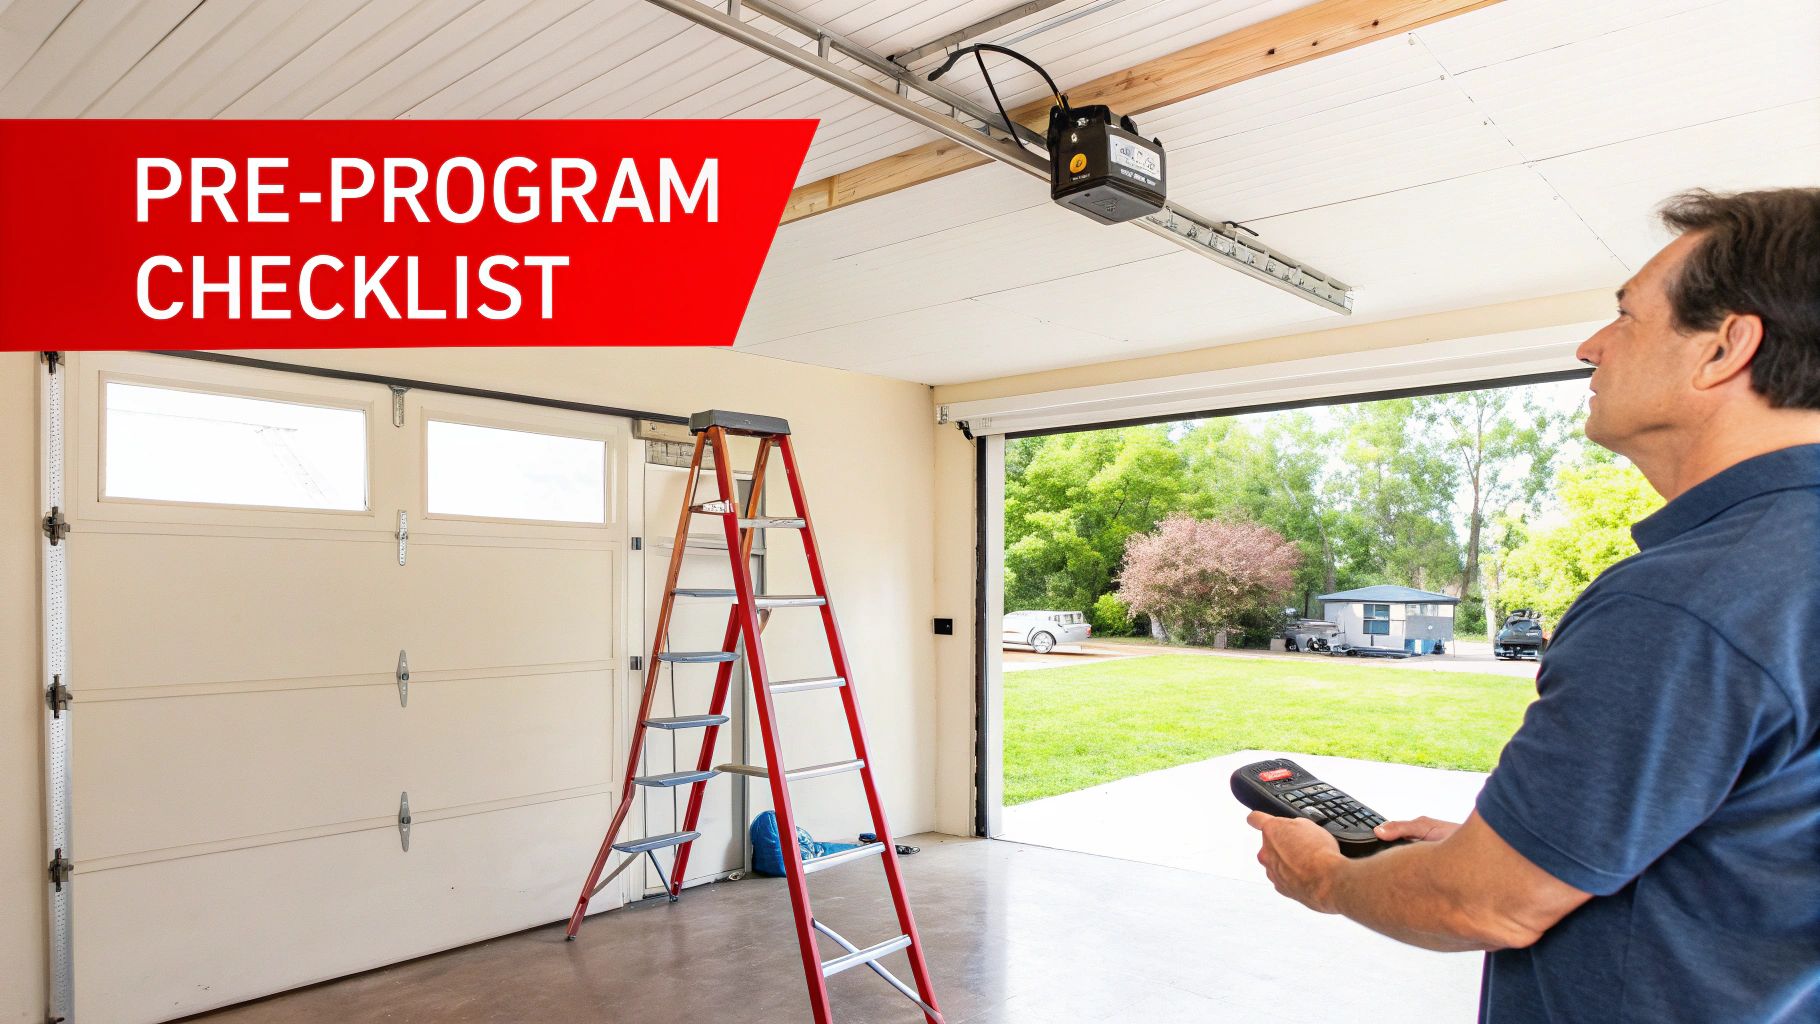
Before you begin, a few preparatory steps can prevent common frustrations. Proper groundwork is the key to a smooth sync-up, whether for a residential garage in Denison, TX, or a commercial loading bay in Lawton, OK. Following these steps ensures the process is efficient and safe, aligning with best practices for property management.
Identify Your Opener Technology
First, you must identify the technology your opener uses. Are you working with a modern system featuring rolling-code technology, or an older model that relies on dip switches? This single detail dictates the entire programming method.
- Rolling-Code Systems: This is the current industry standard, compliant with UL 325 safety standards, and is found in most openers manufactured since 1993. These systems generate a new security code with every use, making it virtually impossible for criminals to intercept the signal. Programming is done via a “Learn” button.
- Dip-Switch Systems: Found on older units and some basic commercial operators, these systems use a row of small physical switches. Programming involves manually matching the switch pattern inside the remote to the pattern on the motor unit. This fixed-code technology is less secure.
Identifying your system upfront streamlines the process and provides insight into your current security level.
Locate the “Learn” Button
For rolling-code systems, the “Learn” or “Program” button is your primary tool. It’s located on the motor unit mounted to the ceiling. Look for a small, square button, often situated near an LED indicator or the antenna wire. The button’s color—typically purple, red, green, or yellow—is a key identifier for the opener’s brand and manufacturing era.
Pro Tip: The “Learn” button is often concealed under the plastic light cover. If you don’t see it immediately, pop the cover off. Crucially, always use a stable ladder for this task; OSHA reports that falls are a leading cause of workplace and home injuries, so never balance on an unstable surface.
Essential Safety and Tool Checklist
Safety is non-negotiable, as the door will activate during programming. A quick pre-flight check ensures a safe and successful outcome for both residential and commercial applications.
| Checklist Item | Residential Importance | Commercial Importance |
|---|---|---|
| Clear Door Path | High – Ensure no children, pets, or vehicles are in the path. | Critical – Verify forklifts, pallets, and personnel are clear per OSHA guidelines. |
| Stable Ladder | High – Prevents falls when accessing the motor unit. | Critical – Essential for safe access to high-mounted commercial operators. |
| Fresh Remote Battery | Medium – A weak signal is a primary cause of pairing failure. | High – Prevents operational downtime and ensures reliable access for staff. |
| Screwdriver (if needed) | Low – Only for dip-switch covers or battery compartments. | Medium – Often required for accessing commercial operator control panels. |
Finally, ensure your remote has a fresh battery. A weak signal is a common point of failure. If your remote is outdated, consider exploring modern garage door accessories that offer enhanced range, security, and smart capabilities.
Decoding Your Opener’s Technology
Understanding your system is the first step toward successful remote programming. In Texas and Oklahoma, properties typically feature one of two core technologies, each with distinct programming requirements and security implications.
The Old-School Method: Dip Switches
If you’re managing an older property—perhaps a home built before the mid-1990s or an established commercial facility—your system may use fixed-code technology with dip switches.
To program, you must open both the remote and the motor unit’s control panel. You will find a row of 8 to 12 tiny physical switches. The process is entirely manual: you must set the “on/off” pattern on the remote’s switches to perfectly match the pattern on the motor. This method is simple but lacks modern security, as the code is static and can be easily duplicated.
The Modern Standard: Rolling Codes
Virtually every opener manufactured in the last two decades uses rolling-code technology, a significant security advancement. Instead of a fixed code, this system transmits a new, encrypted code every time you use the remote, from a pool of over 100 billion possibilities.
This technology was mandated by federal regulations to combat “code-grabbing” devices used by thieves. By constantly changing the access signal, it makes your garage door a hardened target against unauthorized entry.
With rolling-code systems, programming is done electronically via the “Learn” button, which initiates a secure pairing sequence between the remote and the opener. This upgrade in security is a key driver behind the garage door service market’s projected growth to $7.16 billion by 2032, as property owners prioritize safer, more reliable access control.
For more expert tips and how-to guides, feel free to explore our collection of customer resources.
Programming Modern Rolling-Code Remotes
If your garage door opener was manufactured after 1993, it almost certainly uses a rolling-code system. Leading brands like LiftMaster, Chamberlain, and Genie adopted this technology for its superior security. The key to programming these remotes is the “Learn” button.
First, locate this button on the motor unit on your garage ceiling. It’s a small, square button, often near the antenna wire or under the light cover. Its color—purple, red, green, or yellow—corresponds to the specific radio frequency and technology of the opener.
Once located, press and release the “Learn” button. This activates the opener’s pairing mode, but you must act quickly—you typically have only 30 seconds to complete the synchronization.
The Syncing Sequence
The moment you press the “Learn” button, the motor unit will provide a signal, such as a blinking LED or an audible click. This is your cue to proceed.
Press and hold the desired button on your new remote. The opener will confirm a successful pairing with a return signal, like the main lights flashing or another click. That’s it—the remote is now synced. If it doesn’t work on the first attempt, simply repeat the sequence, ensuring you press the remote button within the 30-second pairing window.
This infographic helps you identify your opener type, which is the essential first step.
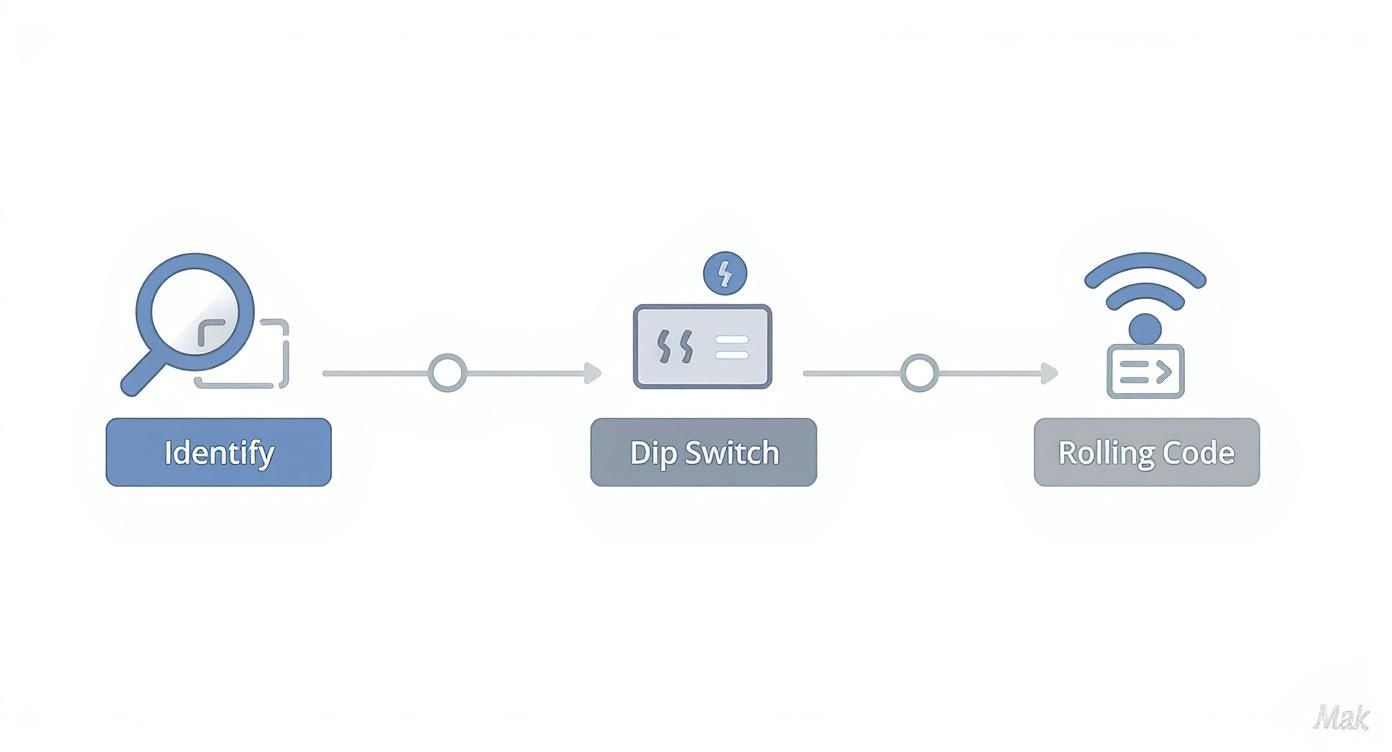
As you can see, determining whether you have a dip switch or rolling-code system is critical, as it dictates your entire approach to programming.
Programming Multiple Remotes
Whether you’re equipping family members or a fleet of commercial vehicles in Texas or Oklahoma, the process is the same for each remote. Simply repeat the “Learn” button sequence for every additional remote.
Pro Tip: Most residential openers have a memory limit, typically storing between five and ten remote codes. If programming a new remote causes an old one to stop working, you have likely exceeded this limit, and the opener has automatically deleted the oldest code to make room.
For businesses requiring dozens of remotes or sophisticated access control, managing this can become complex. Professional assistance ensures all devices are programmed correctly and securely. Our commercial overhead door repair team is equipped to handle large-scale programming for any commercial application.
Getting Universal Remotes and Smart Systems Dialed In
Beyond standard remotes, universal clickers and smart home systems offer enhanced functionality but have unique programming protocols. These advanced solutions provide significant flexibility for homeowners and business managers across Texas and Oklahoma.
A universal remote can consolidate multiple devices but requires initial setup. The process typically involves entering a brand-specific code from a manufacturer’s list or using a “scan” feature to cycle through frequencies until the opener responds. This may require patience but results in streamlined access control.
Tying Into Your Smart Home
Wi-Fi-enabled openers that integrate with platforms like Amazon Alexa, Google Home, and dedicated apps like MyQ transform your overhead door into a connected security asset. This integration offers powerful, practical benefits.
- Remote Access Management: Open the door for a delivery or grant temporary access to a contractor from anywhere via your smartphone.
- Activity Logging: Commercial operators can leverage this feature for enhanced security, creating a timestamped log of every time a door is opened or closed, which is invaluable for loss prevention.
- Scheduled Automation: Program the door to close automatically at a set time each night, eliminating the risk of leaving it open accidentally.
A Pro’s Take: Integrating an opener with a smart hub is a critical security upgrade. For a business, this provides auditable access control, directly impacting asset management and security protocols.
This trend toward smart, connected systems is a primary factor in the garage door remote market’s projected value of $1,479 million by 2025. For more data, see the analysis of the evolving remote control market on archivemarketresearch.com.
To implement this level of convenience and security, our garage door opener installation team can help you select and install the ideal smart system for your property.
Working Through Common Programming Glitches
If you’ve followed the steps but the remote remains unresponsive, the solution is often simpler than you think. Troubleshooting these issues is a common task for our technicians.
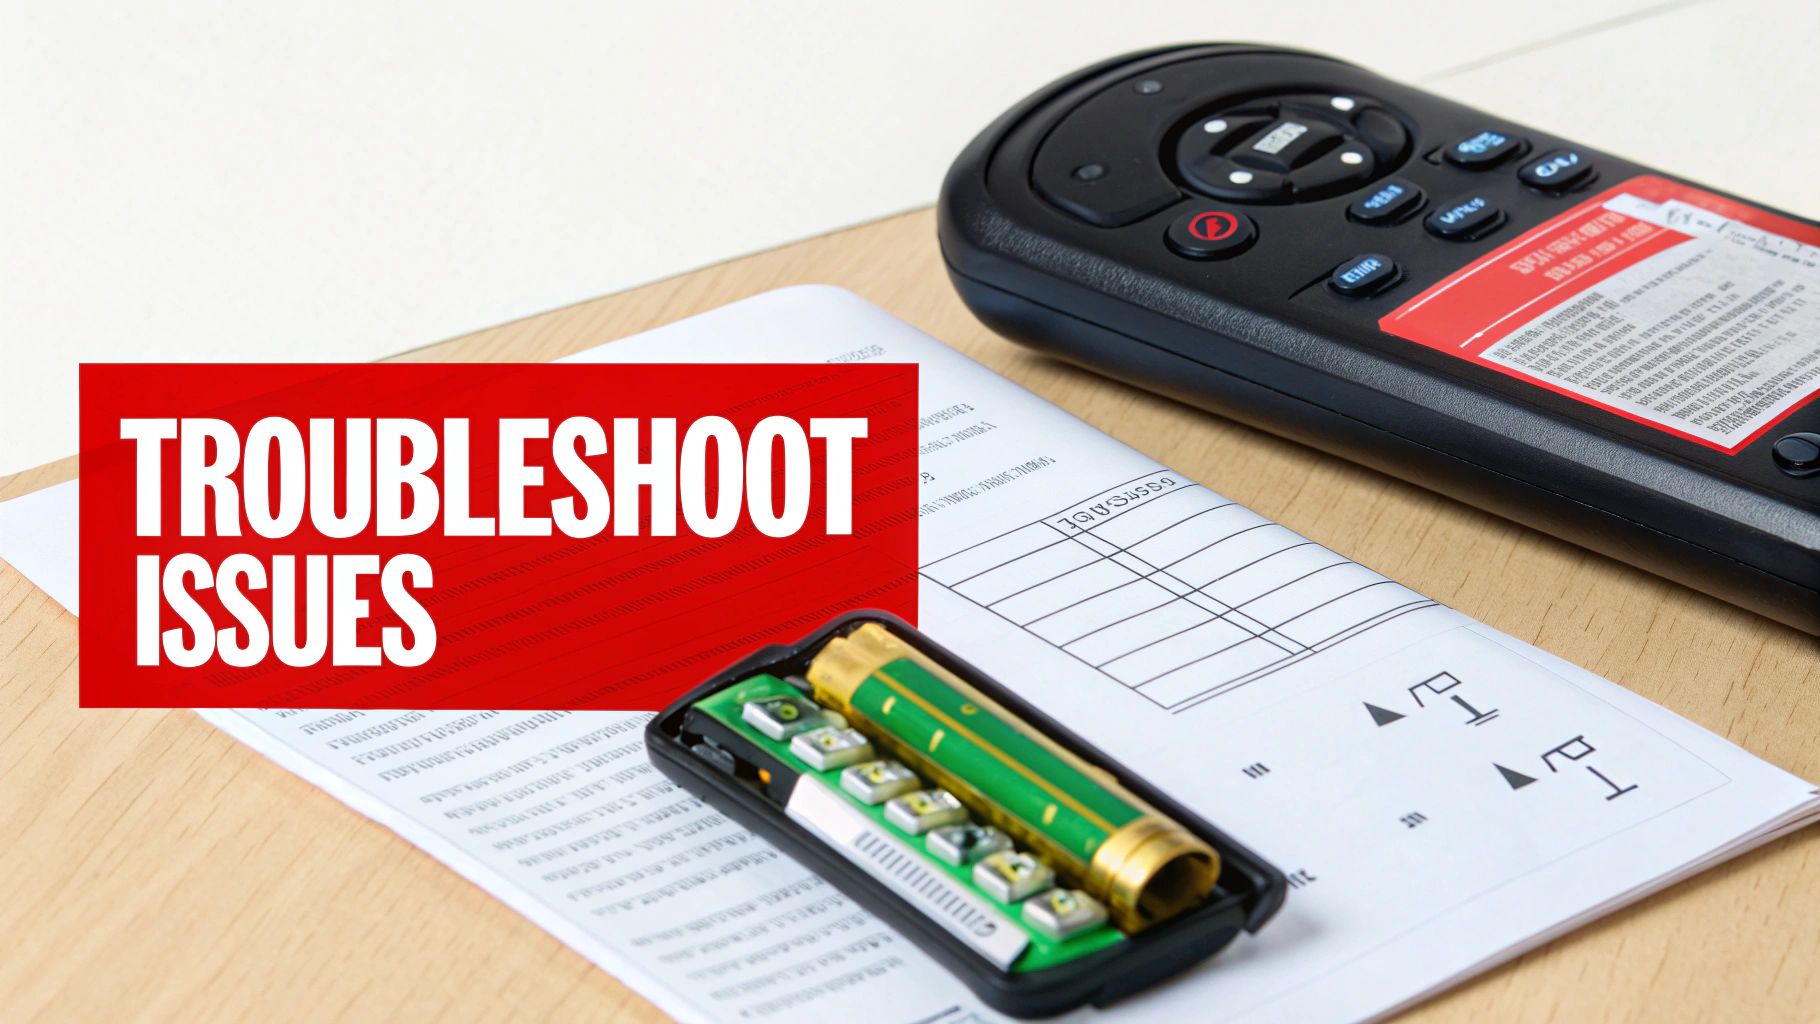
Always start with the most common issue: the battery. A weak battery is the leading cause of poor signal strength and failed pairing attempts.
Another frequent culprit, particularly in the dense airwaves of Texas and Oklahoma, is radio frequency (RF) interference. Certain non-compliant LED light bulbs, for example, can emit frequencies that block your remote’s signal. The global market for these remotes, projected to reach $4.8 billion by 2032, relies on clear signal transmission, as detailed in market reports from sources like dataintelo.com.
Resetting and Digging Deeper
If battery and interference issues are ruled out, the opener’s internal memory may be full. As mentioned, most residential openers have a limited capacity for synced remotes.
A definitive troubleshooting step is to clear the opener’s memory entirely. This is also a vital security measure if a remote has been lost or stolen.
To perform a memory wipe, press and hold the “Learn” button for approximately 6-10 seconds, until the indicator LED turns off. This action erases all paired remotes, providing a clean slate for reprogramming.
If these steps fail to resolve the issue, or if the opener behaves erratically (e.g., opening on its own), the problem may be a faulty logic board—the opener’s central processor. This component requires professional diagnosis.
When you’ve exhausted DIY solutions, it’s time to call an expert. A malfunctioning logic board can compromise your property’s security. Our professional garage door repair team can accurately diagnose the issue and restore your system to safe, reliable operation.
Common Questions We Hear About Remotes
Our technicians consistently answer the same questions from homeowners and facility managers. Here are clear, practical answers to the most common remote programming inquiries.
How Do I Wipe My Garage Door Opener’s Memory Clean?
This is a critical security practice, especially after losing a remote. For most modern openers (like LiftMaster or Chamberlain), press and hold the “Learn” button on the motor unit for about 6 to 10 seconds.
The adjacent LED indicator light will turn off, confirming that all previously programmed remotes have been erased from memory. This gives you a secure, fresh start for reprogramming only the remotes in your possession.
Can I Just Grab Any Remote Brand and Program It to My Opener?
Generally, no. Remotes and openers are designed as matched systems that must operate on the same frequency and use compatible security encryption. A Genie remote, for instance, cannot communicate with a Chamberlain opener.
The primary exception is a universal remote, which is specifically designed to learn the codes of most major brands. However, be aware that their setup can be more complex and may require additional programming steps to achieve reliable performance.
Why Did My Other Remotes Suddenly Stop Working After I Programmed a New One?
This common issue almost always points to a full memory in the opener unit. Most residential openers can only store a finite number of remote codes (often under 10). When you add a new remote to a full system, the opener makes space by deleting the oldest code in its memory.
Alternatively, you may have accidentally held the “Learn” button too long during programming. A brief press initiates pairing mode, but a long press of 6+ seconds triggers a full memory wipe, which would require you to reprogram all of your existing remotes.
The programming logic discussed here is similar for other access control systems, like the Bft Mitto2b bollard remote, which also rely on secure pairing protocols.
When DIY solutions fall short and you need guaranteed results, contact the professionals at Overhead Door Co. of Tex-Oma. Our certified technicians are equipped to resolve any remote or opener issue, ensuring your home or business remains secure and accessible.
Contact us today for reliable commercial overhead door repair and residential services you can count on.
